Online Magazine
Recent Posts
- Safeguard your Cellphone Photos
- Black & White to Color – Instantly
- Wearing Many Hats
- Video Roundup
- Rescuing Your Blurry Pictures
- Showing Their Age
- What is Your Angle?
- Panorama Photos
- Humorous Photos
- Close Ups
- Fisheye Pictures
- Photo Antiquities
- Printing Big
- Appreciating Scale
- Celebrity Sightings
Tags
More Places to Go
- Free "How-To" Books “How To” books for popular cameras 0
- Vist Us on Facebook keep in touch with us on Facebook 2
Archives
- July 2023 (1)
- March 2023 (2)
- February 2023 (1)
- December 2022 (1)
- October 2022 (1)
- September 2022 (8)
- August 2022 (9)
- July 2022 (1)
- June 2022 (1)
- June 2021 (1)
- May 2021 (1)
- March 2021 (5)
- February 2021 (4)
- January 2021 (2)
- April 2019 (1)
- March 2019 (1)
- February 2019 (1)
- October 2018 (2)
- April 2018 (1)
- March 2018 (4)
- February 2018 (1)
- November 2017 (1)
- August 2017 (1)
- June 2017 (1)
- April 2017 (1)
- March 2017 (5)
- February 2017 (2)
- January 2017 (1)
- October 2016 (1)
- September 2016 (1)
- August 2016 (1)
- July 2016 (1)
- May 2016 (1)
- April 2016 (1)
- March 2016 (2)
- February 2016 (1)
- January 2016 (2)
- December 2015 (1)
- November 2015 (1)
- October 2015 (3)
- April 2015 (1)
- March 2015 (5)
- February 2015 (1)
- January 2015 (4)
- December 2014 (2)
- November 2014 (5)
- October 2014 (2)
- September 2014 (1)
- August 2014 (2)
- July 2014 (1)
- May 2014 (1)
- April 2014 (5)
- March 2014 (5)
- December 2013 (2)
- November 2013 (18)
- October 2013 (1)
- September 2013 (1)
- August 2013 (1)
- July 2013 (1)
- June 2013 (3)
- May 2013 (1)
- April 2013 (2)
- March 2013 (1)
- February 2013 (1)
- January 2013 (1)
- December 2012 (1)
- November 2012 (2)
- October 2012 (2)
- September 2012 (5)
- August 2012 (2)
- July 2012 (1)
- June 2012 (1)
- May 2012 (1)
- April 2012 (4)
- March 2012 (1)
- February 2012 (1)
- January 2012 (3)
- December 2011 (1)
- November 2011 (3)
- October 2011 (1)
- September 2011 (2)
- August 2011 (2)
- June 2011 (3)
- May 2011 (4)
- April 2011 (8)
- March 2011 (8)
- February 2011 (10)
- January 2011 (6)
- December 2010 (11)
- November 2010 (14)
- October 2010 (6)
- September 2010 (12)
- August 2010 (2)
- July 2010 (4)
- June 2010 (3)
- May 2010 (1)
- April 2010 (1)
- March 2010 (2)
- February 2010 (1)
- January 2010 (1)
- December 2009 (1)
- November 2009 (2)
- October 2009 (2)
- September 2009 (1)
- August 2009 (3)
- July 2009 (2)
- June 2009 (1)
- May 2009 (2)
- April 2009 (1)
- March 2009 (2)
- February 2009 (1)
- January 2009 (3)
Roadtrip and the Statistics
04th August 2013
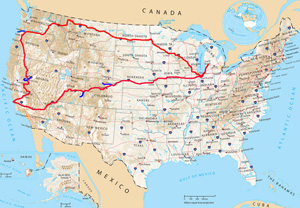
We just returned home after spending the last several weeks on the road. This was our annual summer vacation and as is customary, this outing was another cross-country road trip.
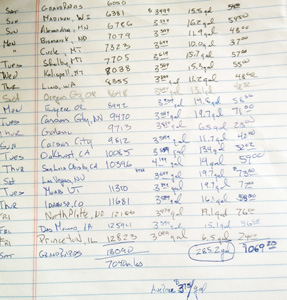
Of course, these boring statistics hide the real roadtrip.
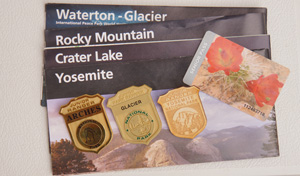
Our vacation was not only about spending time together in the vehicle (we clocked roughly 140 hours driving) as we visited with family in Oregon City and Reno (which are 530 miles apart). Reno is nearby our favorite Lake Tahoe (an easy 50 mile drive) where we spent 2 days swimming its crystal clear waters (albeit a little chilly at 65 degrees). Also in Reno we invested a cool $120 at the arcade in Circus Circus to bring home 27 stuffed animals – what a deal! In Yosemite we hiked the Merced Grove trail to pay our respect to the 2000+ year old Sequoias that reach more than 250 ft towards the heavens. A two-day jaunt to Moro Bay on the Pacific coast gave the grandkids the opportunity to collect rocks and sea shells (120 of them weighing twelve pounds). Then onto a family reunion (would you believe 90+ relatives) in Las Vegas. Believe me when I say that July is not most opportune time to be in Las Vegas (the temperature was 106 degrees). As if the heat there wasn’t enough, we stopped at a hot springs in Colorado to bask in its healthy but soothing waters (104-degree pool). And in a moment of driving indecision we backtracked (more than 200 miles) to visit our last National Park. There we climbed the tundra at the top of Trail Ridge Pass which is 11,800 ft above sea level. Anxious to get home, we made the final leg home from Sterling, CO to Grand Rapids (1050 miles in 17 hours).
While I’d like to share the other 1494 photos with you, these will have to wait for another article.
Roadtrip! There’s still several more weeks to enjoy the summer vacations. I hope you can get out there to enjoy our fabulous country. Did I hear roadtrip?
Written by Arnie Lee
A Long Lens Story
12th June 2013
Avoiding the $8,500 shock
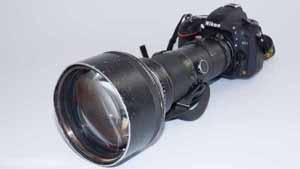
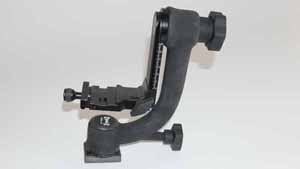
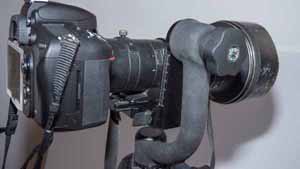
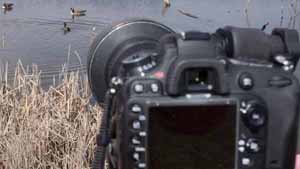
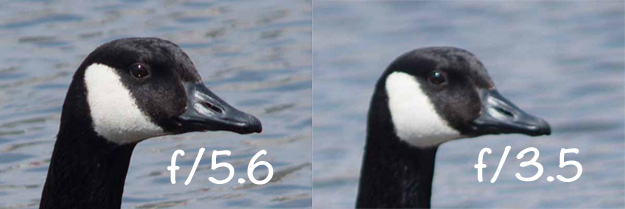
Those of us who like to hunt wildlife with a camera know that you can never have enough mm of lens. But sticker shock kicks in when you look at the prices for a fast super-telephoto lens. Last year I made it a high priority to seek out an alternative way to acquire one of these highly sought after gems and ended up with a prized lens at a bargain basement price.
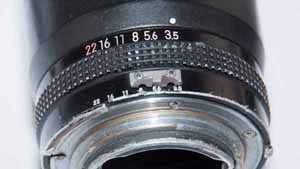
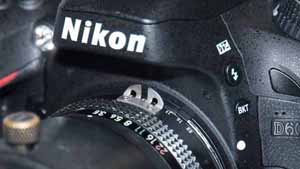
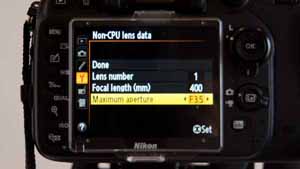
My lucky catch doesn’t have the features of late model glass, but neither does it doesn’t carry an $8,500 price tag. Instead of the a brand spanking new 400mm f/2.8 with auto focusing and vibration reduction I picked up a used 400mm f/3.5 manual focus lens. As you’ll see, although it lacks the convenience of the high price spread, it performs very well for my type of shooting. And at a price of about $600, it is a steal. If you’re a lover of long lenses that isn’t willing to take a mortgage out to buy one, follow along to see if the used lens approach can satisfy your equipment wants.
At first I was a little hesitant about buying an older lens without the autofocus and autoexposure features that I’ve come to expect from newer lenses. After all, this lens comes from the early 1980s; isn’t it obsolete? Now that I’ve had some positive experience, I realize that quality equipment lasts for many years.
I feel that I hit the jackpot with this lens at a great price. Now I’m hoping to find some time to capture many more birds in the future.
Written by Arnie Lee
NOTE: While this article featured Nikon equipment, I’m hoping to look for similar money-saving angles for my Canon equipment.
In Search of Nemo
11th June 2013
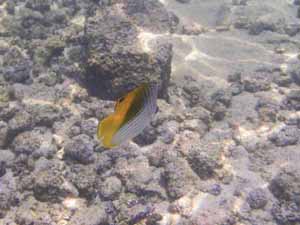
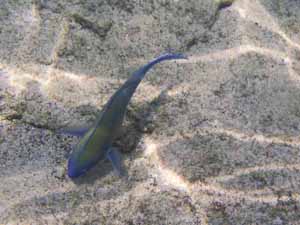
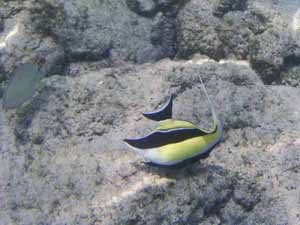
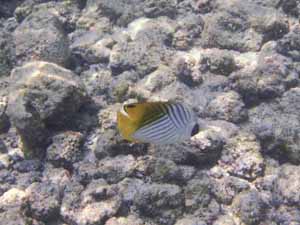
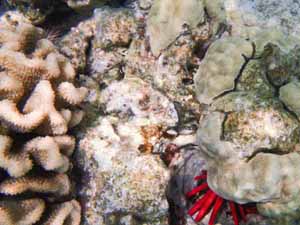
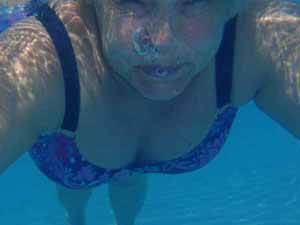
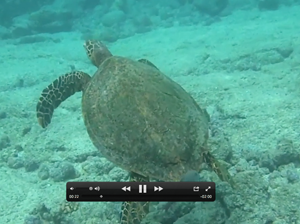
Underwater Photography – Blllllrrrrrpppp!
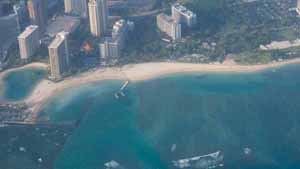
For those of us who spend their winters in the frigid cold, surrounded by ice and snow for months at a time, a visit to the tropics is a blessing. To me, the mention of the tropics brings warmth and water to mind. And that’s precisely what we were after when we booked a trip to the Big Island of Hawaii.
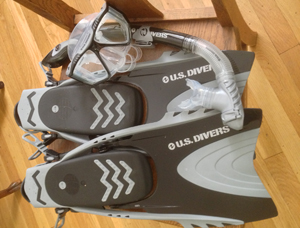
The weather there is predictably warm so it’s easy to pack: a couple of bathing suits, a few pairs of shorts and several shirts. And don’t forget the snorkeling equipment! As an avid picture-taker, my luggage also includes a camera or two so that I can record the events that we may encounter.
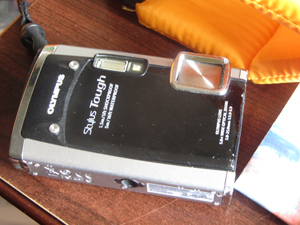
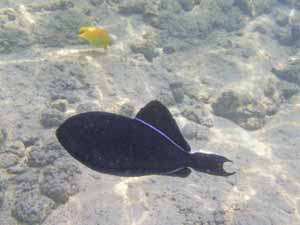
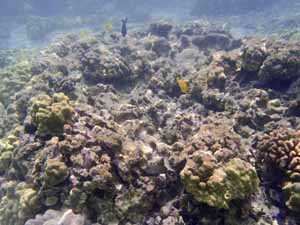
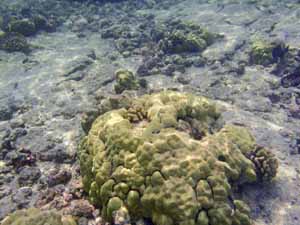
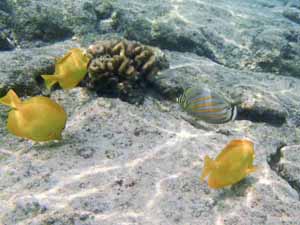
So I returned home with a slight tan, a relaxed body and a nice set of photos of some spectacularly colorful fish. Of course these photos aren’t of the same quality that you’d expect from a full-blown underwater outfit. But I’m happy just the same having recorded some of nature’s gorgeous water landscapes with a very affordable camera.
Written by Arnie Lee
