Online Magazine
Recent Posts
- Safeguard your Cellphone Photos
- Black & White to Color – Instantly
- Wearing Many Hats
- Video Roundup
- Rescuing Your Blurry Pictures
- Showing Their Age
- What is Your Angle?
- Panorama Photos
- Humorous Photos
- Close Ups
- Fisheye Pictures
- Photo Antiquities
- Printing Big
- Appreciating Scale
- Celebrity Sightings
Tags
More Places to Go
- Free "How-To" Books “How To” books for popular cameras 0
- Vist Us on Facebook keep in touch with us on Facebook 2
Archives
- July 2023 (1)
- March 2023 (2)
- February 2023 (1)
- December 2022 (1)
- October 2022 (1)
- September 2022 (8)
- August 2022 (9)
- July 2022 (1)
- June 2022 (1)
- June 2021 (1)
- May 2021 (1)
- March 2021 (5)
- February 2021 (4)
- January 2021 (2)
- April 2019 (1)
- March 2019 (1)
- February 2019 (1)
- October 2018 (2)
- April 2018 (1)
- March 2018 (4)
- February 2018 (1)
- November 2017 (1)
- August 2017 (1)
- June 2017 (1)
- April 2017 (1)
- March 2017 (5)
- February 2017 (2)
- January 2017 (1)
- October 2016 (1)
- September 2016 (1)
- August 2016 (1)
- July 2016 (1)
- May 2016 (1)
- April 2016 (1)
- March 2016 (2)
- February 2016 (1)
- January 2016 (2)
- December 2015 (1)
- November 2015 (1)
- October 2015 (3)
- April 2015 (1)
- March 2015 (5)
- February 2015 (1)
- January 2015 (4)
- December 2014 (2)
- November 2014 (5)
- October 2014 (2)
- September 2014 (1)
- August 2014 (2)
- July 2014 (1)
- May 2014 (1)
- April 2014 (5)
- March 2014 (5)
- December 2013 (2)
- November 2013 (18)
- October 2013 (1)
- September 2013 (1)
- August 2013 (1)
- July 2013 (1)
- June 2013 (3)
- May 2013 (1)
- April 2013 (2)
- March 2013 (1)
- February 2013 (1)
- January 2013 (1)
- December 2012 (1)
- November 2012 (2)
- October 2012 (2)
- September 2012 (5)
- August 2012 (2)
- July 2012 (1)
- June 2012 (1)
- May 2012 (1)
- April 2012 (4)
- March 2012 (1)
- February 2012 (1)
- January 2012 (3)
- December 2011 (1)
- November 2011 (3)
- October 2011 (1)
- September 2011 (2)
- August 2011 (2)
- June 2011 (3)
- May 2011 (4)
- April 2011 (8)
- March 2011 (8)
- February 2011 (10)
- January 2011 (6)
- December 2010 (11)
- November 2010 (14)
- October 2010 (6)
- September 2010 (12)
- August 2010 (2)
- July 2010 (4)
- June 2010 (3)
- May 2010 (1)
- April 2010 (1)
- March 2010 (2)
- February 2010 (1)
- January 2010 (1)
- December 2009 (1)
- November 2009 (2)
- October 2009 (2)
- September 2009 (1)
- August 2009 (3)
- July 2009 (2)
- June 2009 (1)
- May 2009 (2)
- April 2009 (1)
- March 2009 (2)
- February 2009 (1)
- January 2009 (3)
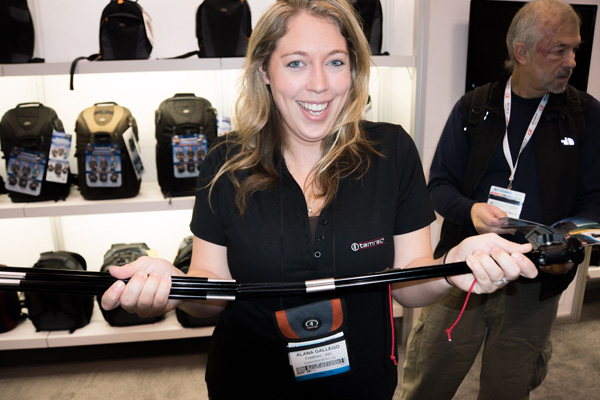
PhotoPlus Expo – ZipShot
12th November 2013
Tamrac’s very compact tripod
For photographers who like to travel light, Tamrac has introduced the ZipShot.
|
This is a very small and lightweight tripod. Weighing less than a pound and only 15″ long when folded, it’s easy to carry. Alana, the rep for Tamrac is showing me how the compact ZipShot easily unfolds for setup. |
 |
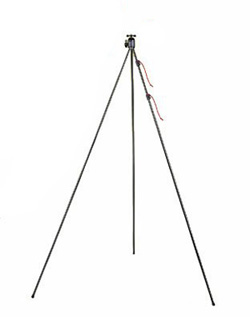 |
If you’ve set up a camping tent that uses fiberglass shock-cords, then you’ll understand how the ZipShot works. It has aluminum legs that stand 44″ above the ground and has a heavy duty ball head. Alana told me that the ZipShot can be used with equipment weighing up to 3 pounds so it won’t be useful for long, heavy telephoto lenses. |
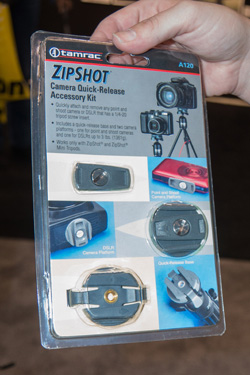 |
She also showed me the Quick-Release accessory kit for the ZipShot. Place the base to the ZipShot’s ball head and you can quickly attach/detach your camera to the tripod. Price of the ZipShot (TR406) is about $59. The Quick-Release kit (A120) sells for $20. |
For more information about Tamrac’s ultra-light tripod see ZipShot
Written by: Arnie Lee
How I Travel with a Camera
27th September 2012
…or improving my photographic memory
I’ve traveled by plane so often that the routine of traveling overseas has become old hat.
But for this trip, I am diligently recording the steps that I follow with the goal of creating a checklist that other travelers may find handy if they too want to have a photographic memory of their travels.
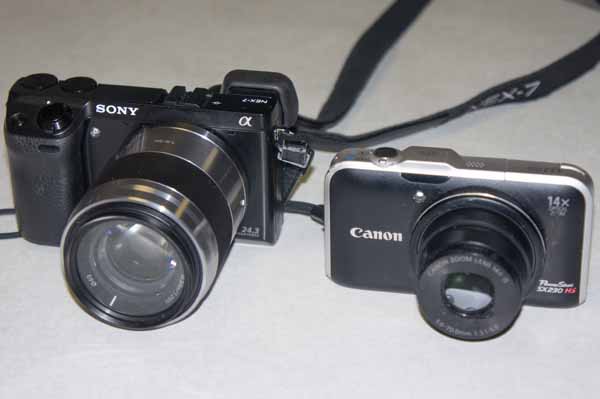
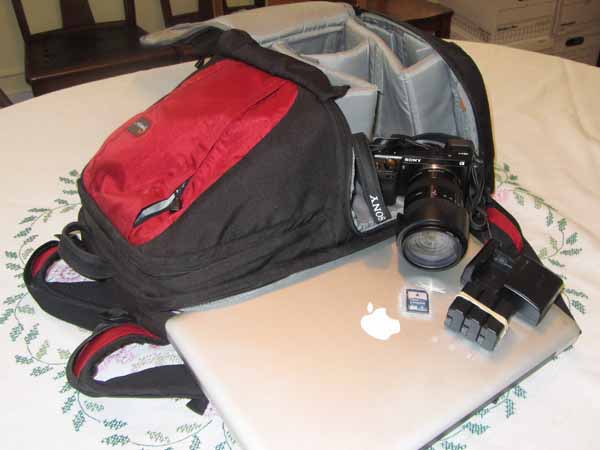
| Choose your weapon Sadly I have more photo equipment than I could ever use at one time. This trip I am taking a lightweight camera with an all-in-one (wide angle to telephoto) zoom lens. My experience has taught me to take fewer pieces of equipment to save space and weight. Besides the camera, don’t forget the battery charger and extra memory cards. I almost always take a notebook computer to review and backup my photos. |
 |
| Luggage rack To save time and avoid the lost luggage syndrome, I rarely check my bags with the airlines. Instead I use a small roll-on-board suitcase and a backpack. My backpack is designed for photo equipment and has a well-padded compartment for my notebook computer. The tendency is to fill the backpack to capacity but you may have second thoughts as you’re rushing to make a tight connection from Gate A-1 to Gate F-99 with 40 pounds hanging from your shoulders while you drag your roll-on-board in tow. Suggestion: lighten your load; your back will be forever grateful. |
 |
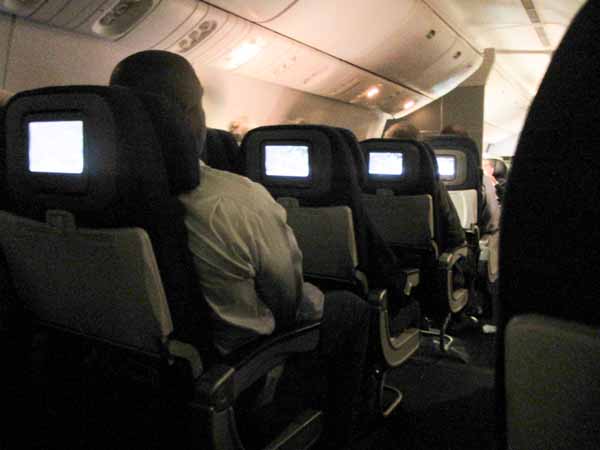
| Reservations please I enjoy taking photos from the airplane window. If you book your airline reservations far enough in advance you may be able to reserve a window seat. As I’m mostly traveling in the northern hemisphere I try to reserve a seat on the left side of the aircraft when traveling east or north and on the right side of the aircraft when traveling west or south. By doing this you’re avoiding the direct sun in the aircraft window. |
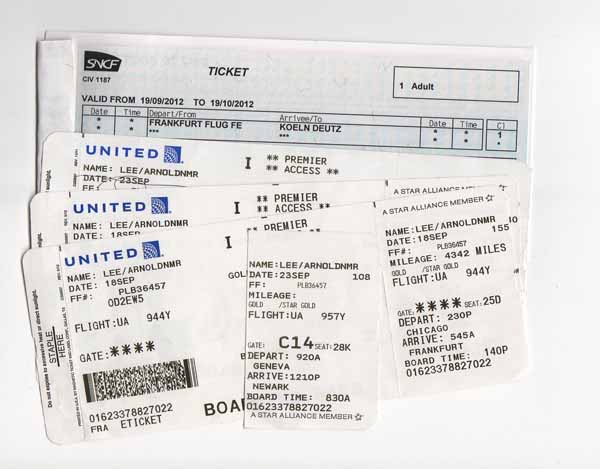 |
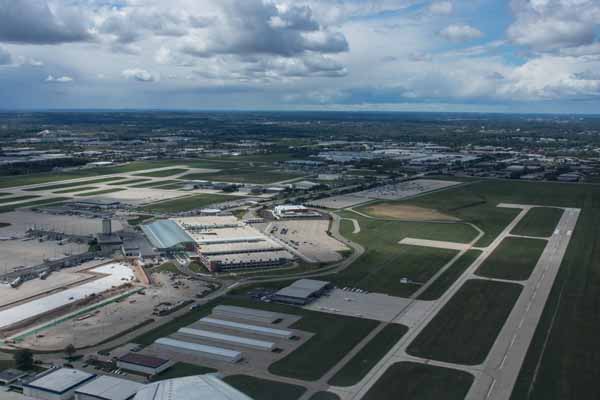
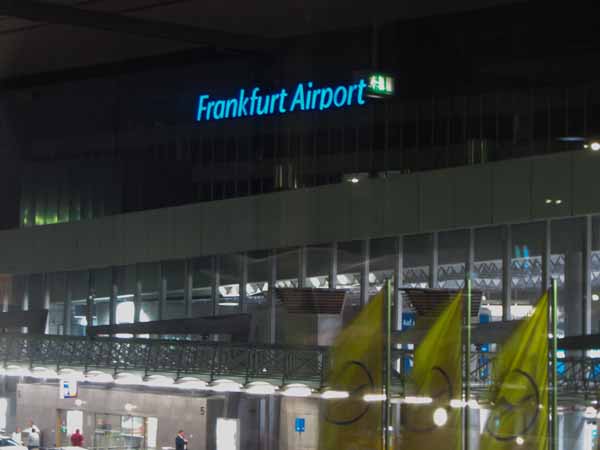
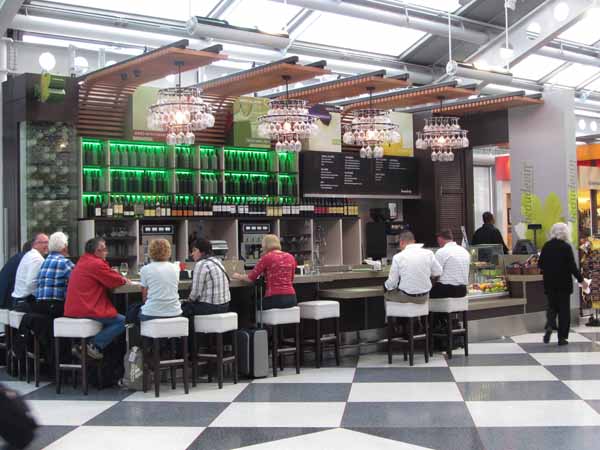
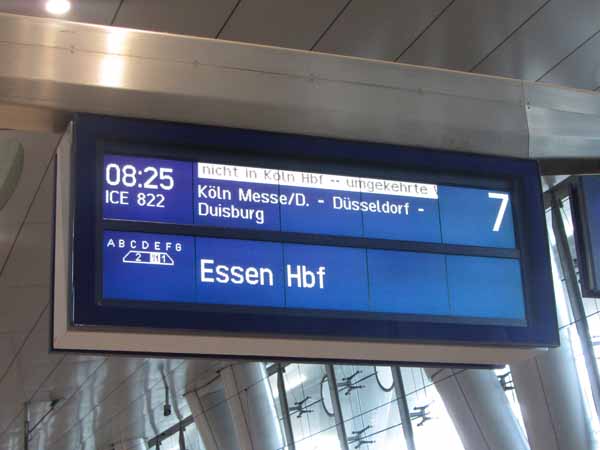
| At the Airport Put your camera away at security – the TSA staff are all camera-shy. After you’ve passed through security, snap a photo at your gate to record your flight and destination. Is there a window overlooking the tarmac? Take a shot of the aircraft that you’ll be flying. Are you traveling with others? You’ll want to capture their faces too. Are you traveling to or through an airport that is new to you? Take a picture of that barnstorm plane hanging from the ceiling or the museum pieces on display in the corridors. Many airports are filled with elegant artwork and designs. Take time to smell the roses as you’re passing through. |
 |
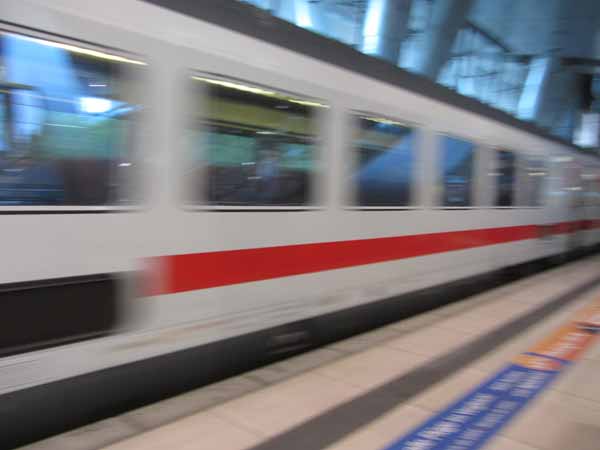
| In the Air Recording the progress of your flight may be difficult. If you happen to have a window seat you may be in luck. However, if the sun is shining brightly on your side of the aircraft, there will be a lot of flare. Or if the skies below are cloudy, you’ll have a very restricted view of the terrain. If you’re traveling overseas, you may be flying during the night. Should you have a clear view, set your camera’s shutter speed to 1/250 second or faster to minimize blur. Remember that during takeoff and landing you’re closest to the detail on the ground. These are both good times to capture your flight. |
 |
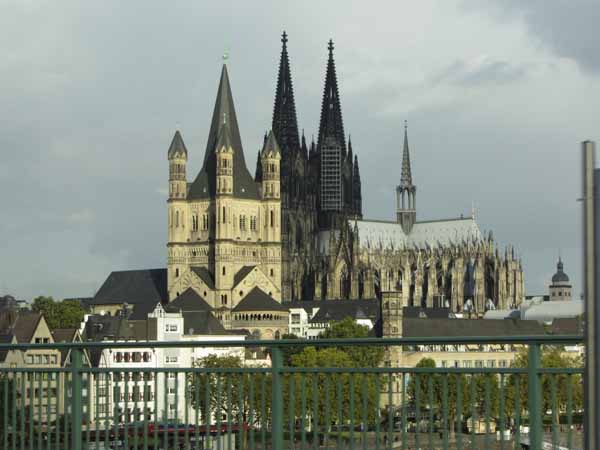
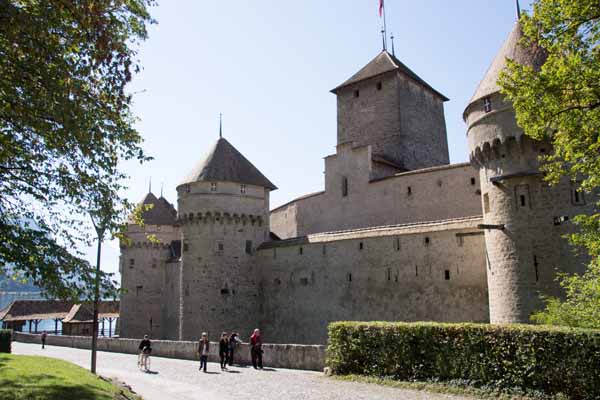
| Arrival and the Sites Here’s where the real photographer in you blossoms. Get out there and snap, snap, snap. Most likely, you already have a list of the landmarks and attractions that you want to photograph. The tendency is to step back and include everything in your photos. Try stepping forward a little to include less (but closer) detail. Instead of posing people, it’s interesting to catch people in action. To prove that you were there, is there someone who can take your picture too? What about the local customs and curiosities of your destination that are different from home? The foods, architecture, landscape and transportation may all be unique to this area. Why not record these? |
 |
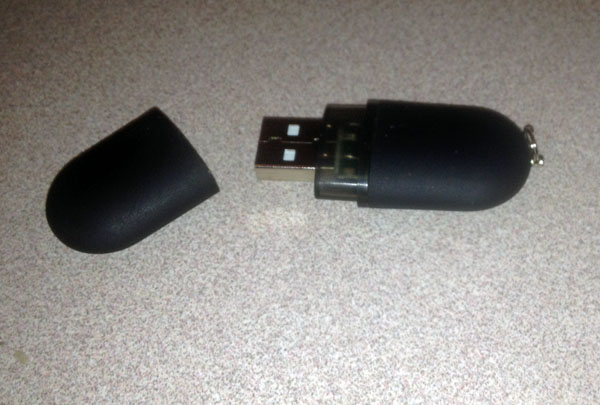
| Backing up your photos I mentioned earlier that I almost always travel with a notebook computer. I’ve also made it a habit to copy my photos from the memory card (SD or CF) to my notebook computer daily. Additionally, I make a backup copy of these digital files to a thumb-drive. Afterwards, I keep the thumb-drive in a place separate from my notebook computer. This gives me two copies of my travel images. |
 |
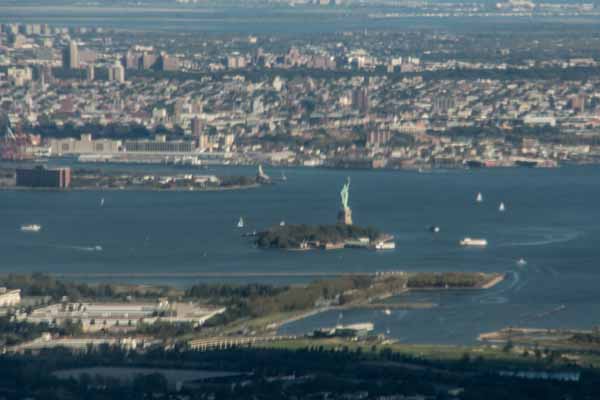
| Returning Home Don’t relax just yet. The reverse flight home may give you a better opportunity for in-flight photos than the flight there. On my return flight home, I had a connection at Newark (New York area). Having grown up in New York, I knew that the Statue of Liberty was sitting in New York Harbor to the south of Manhattan so I was prepared to snap a photo during arrival. Again, having a window seat was the key. |
 |
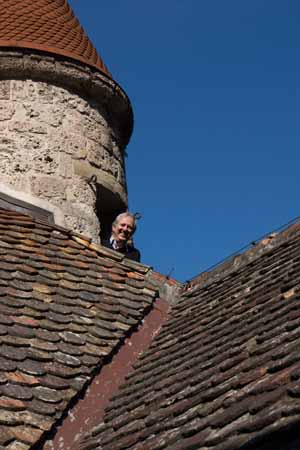
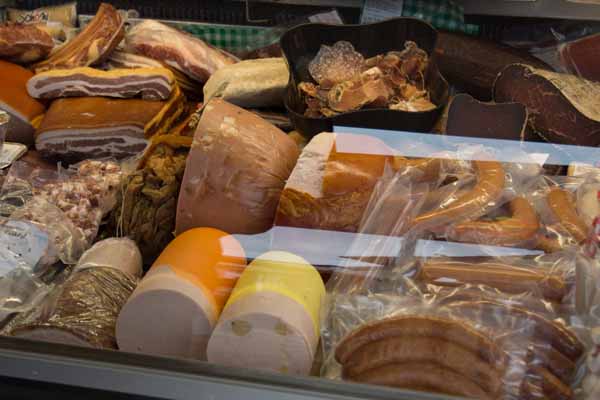
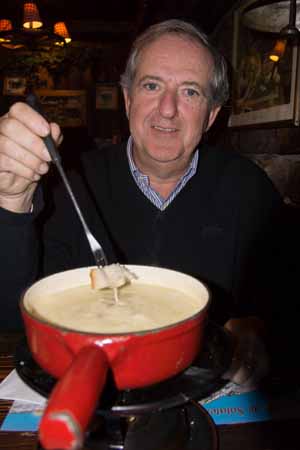
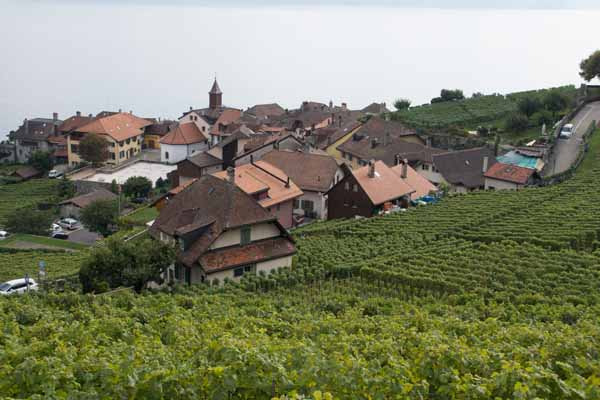
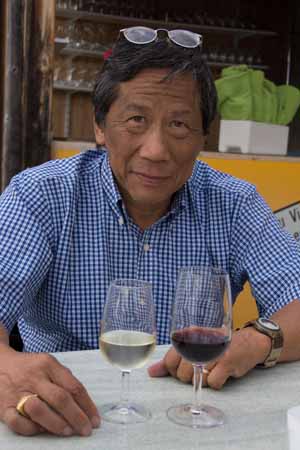
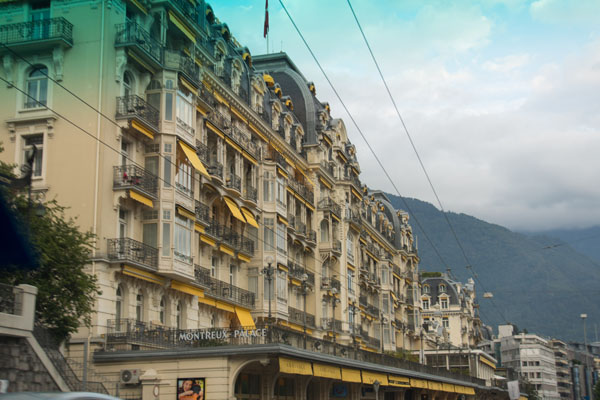
Following are some of my “photographic memories” from my travels to Germany and Switzerland that hopefully illustrate this article – arranged chronologically.
|
|
||
 |
 |
 |
|
|
||
 |
 |
 |
|
|
||
 |
 |
 |
|
|
||
 |
 |
 |
|
|
||
 |
 |
 |
|
|
||
 |
 |
 |
|
|
||
Happy travels.
Written by Arnie Lee
Cross Country – … almost
22nd November 2011
packing in the sites when time is limited
Mom plans her getaway to her winter home in Arizona around the time the leaves start to fall in Michigan. When it’s time to leave the cold behind, she hops on an airplane for the 1500 mile flight and I volunteer to drive her car to Phoenix.
This year I chose to drive a circuitous route. Instead of heading directly for the southern route, I travel straight west towards Utah and Nevada. My plan is to do a some sightseeing. As it turns out, I visited five national parks and a few other interesting places.
To avoid a long slideshow, I’ve condensed this long cross country trip into a series of photos – one photo for each major stopover.
Are you ready?
OK, let’s go.
| There is some snow in Colorado and this attractive bird is out looking for food. | 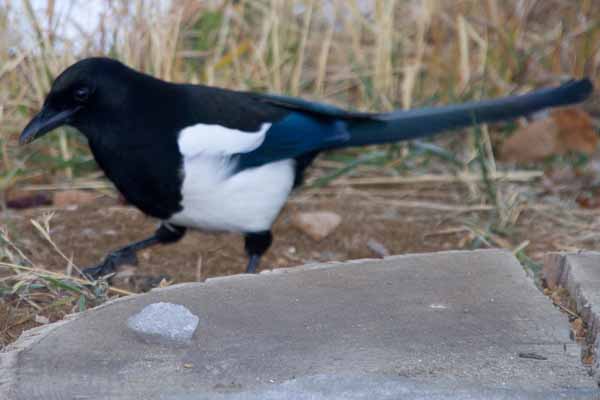 |
|
| We reached Arches National Park in eastern Utah about 10pm. The moon is full, inviting us to a camera challenge. Here’s a two second handheld photo taken at midnight without any other light except the moon. |  |
|
| The next day we travel to southern Utah and find a gorgeous and colorful Bryce Canyon National Park sprinkled with white stuff. | 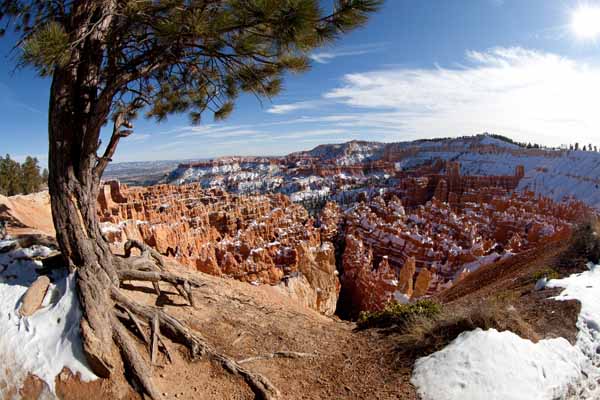 |
|
| Before dusk we reach Zion National Park. Unlike Bryce where you’re looking down into the canyons, in Zion you’re in the canyon looking up. |  |
|
| That evening we arrive in Las Vegas. This city has always been a favorite of mine for night time photography. Can you see why? |  |
|
| After we leave Las Vegas we stop at the newly constructed bypass to the Hoover Dam. What a view. It’s an engineering and architectural marvel. | 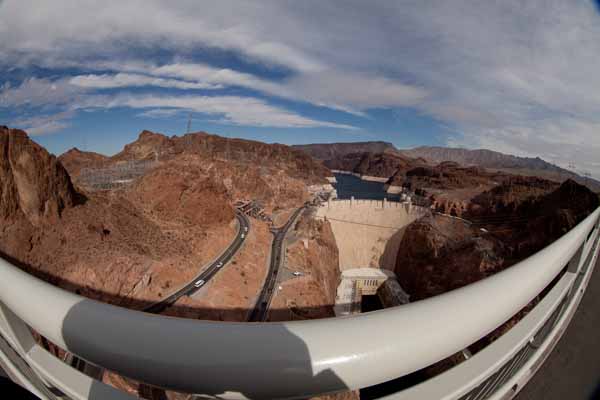 |
|
| That evening, we arrive at the Grand Canyon National Park. Unfortunately, the clouds and rain moves in during the night and the next morning we are greeted with ground fog. The weather is perfect for “mood” shots like this. | 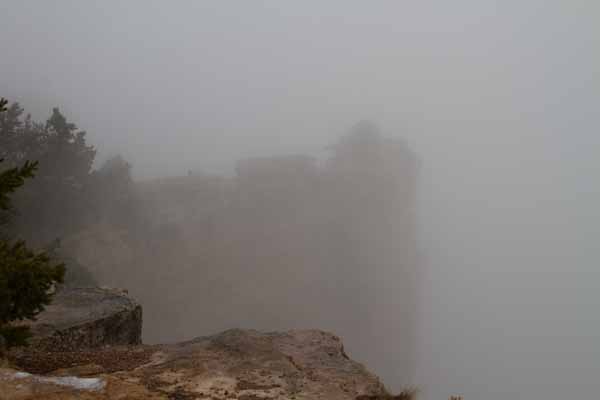 |
|
| Instead of crying about the cloudy Grand Canyon, we move south to Sedona and were able to catch some of the red rocks for which this area is noted. |  |
|
| Finally after five days on the road, we arrive in Phoenix.
This seguaro cactus is a familiar and welcome site. |
 |
So there you have it.
I’ve squeezed 2700 miles into a few compact photos.
I hope you enjoyed the parks as much as we did.
Written by Arnie Lee
« Older Posts — Newer Posts »