Online Magazine
Recent Posts
- Safeguard your Cellphone Photos
- Black & White to Color – Instantly
- Wearing Many Hats
- Video Roundup
- Rescuing Your Blurry Pictures
- Showing Their Age
- What is Your Angle?
- Panorama Photos
- Humorous Photos
- Close Ups
- Fisheye Pictures
- Photo Antiquities
- Printing Big
- Appreciating Scale
- Celebrity Sightings
Tags
More Places to Go
- Free "How-To" Books “How To” books for popular cameras 0
- Vist Us on Facebook keep in touch with us on Facebook 2
Archives
- July 2023 (1)
- March 2023 (2)
- February 2023 (1)
- December 2022 (1)
- October 2022 (1)
- September 2022 (8)
- August 2022 (9)
- July 2022 (1)
- June 2022 (1)
- June 2021 (1)
- May 2021 (1)
- March 2021 (5)
- February 2021 (4)
- January 2021 (2)
- April 2019 (1)
- March 2019 (1)
- February 2019 (1)
- October 2018 (2)
- April 2018 (1)
- March 2018 (4)
- February 2018 (1)
- November 2017 (1)
- August 2017 (1)
- June 2017 (1)
- April 2017 (1)
- March 2017 (5)
- February 2017 (2)
- January 2017 (1)
- October 2016 (1)
- September 2016 (1)
- August 2016 (1)
- July 2016 (1)
- May 2016 (1)
- April 2016 (1)
- March 2016 (2)
- February 2016 (1)
- January 2016 (2)
- December 2015 (1)
- November 2015 (1)
- October 2015 (3)
- April 2015 (1)
- March 2015 (5)
- February 2015 (1)
- January 2015 (4)
- December 2014 (2)
- November 2014 (5)
- October 2014 (2)
- September 2014 (1)
- August 2014 (2)
- July 2014 (1)
- May 2014 (1)
- April 2014 (5)
- March 2014 (5)
- December 2013 (2)
- November 2013 (18)
- October 2013 (1)
- September 2013 (1)
- August 2013 (1)
- July 2013 (1)
- June 2013 (3)
- May 2013 (1)
- April 2013 (2)
- March 2013 (1)
- February 2013 (1)
- January 2013 (1)
- December 2012 (1)
- November 2012 (2)
- October 2012 (2)
- September 2012 (5)
- August 2012 (2)
- July 2012 (1)
- June 2012 (1)
- May 2012 (1)
- April 2012 (4)
- March 2012 (1)
- February 2012 (1)
- January 2012 (3)
- December 2011 (1)
- November 2011 (3)
- October 2011 (1)
- September 2011 (2)
- August 2011 (2)
- June 2011 (3)
- May 2011 (4)
- April 2011 (8)
- March 2011 (8)
- February 2011 (10)
- January 2011 (6)
- December 2010 (11)
- November 2010 (14)
- October 2010 (6)
- September 2010 (12)
- August 2010 (2)
- July 2010 (4)
- June 2010 (3)
- May 2010 (1)
- April 2010 (1)
- March 2010 (2)
- February 2010 (1)
- January 2010 (1)
- December 2009 (1)
- November 2009 (2)
- October 2009 (2)
- September 2009 (1)
- August 2009 (3)
- July 2009 (2)
- June 2009 (1)
- May 2009 (2)
- April 2009 (1)
- March 2009 (2)
- February 2009 (1)
- January 2009 (3)
Panoramas the easy way
27th August 2012
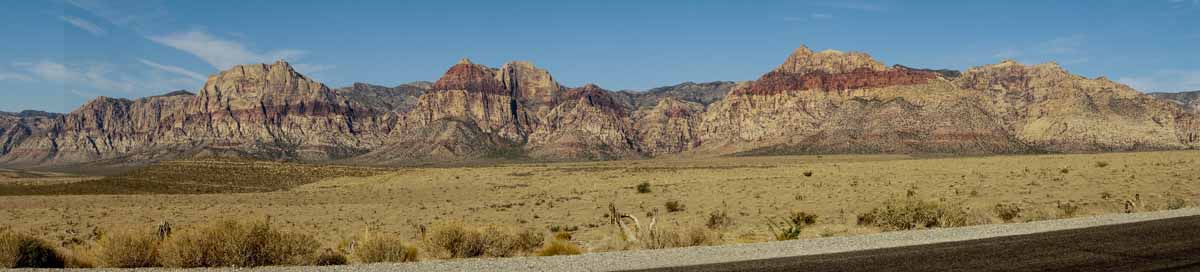
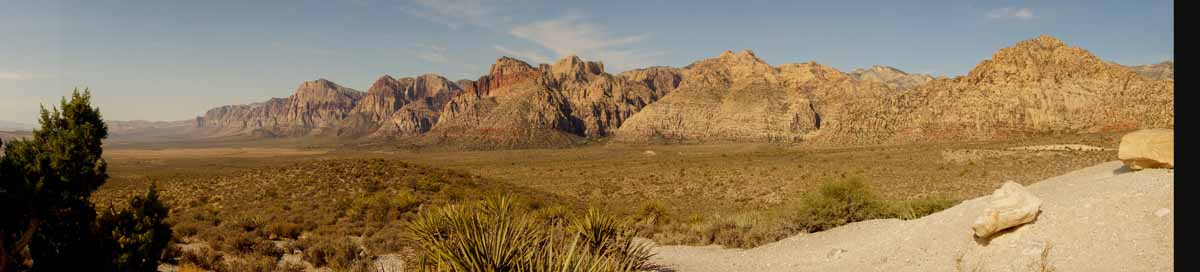
Photographically speaking, a panorama is a photograph that encompasses a very wide view. I like panoramas because they reproduce a scene as if I were viewing it live by turning my head from the far left to the far right. I can view the photograph in small ‘chunks’ as I scan the entire image from the left to the right.
In the past, making a panorama was a complicated, multiple step process involving capturing the images and then stitching them together whether it be done chemically in a darkroom or digitally with a computer. I won’t go into details of making panoramas using either of these two “conventional” ways. Instead, I’ll point out the ease with which a feature on certain cameras enables me to easily make panoramas in one step.
For the past two years I’ve been using several Sony Alpha series and NEX series cameras to shoot panoramas. These cameras enjoy a feature called Sweep Panorama. When this feature is chosen, you simultaneously depress the shutter and move the camera in a sweeping fashion to the right. As you do this, the camera captures multiple images of the scene. The camera signals the completion of the sweep by halting the shutter. A few seconds afterward, the panoramic capture appears on the camera’s LCD for your review. Press the PLAY button and the image is displayed from left to right – in video fashion – but is actually a single, still panoramic image.
Above, I explained that the sweeping motion is from left to right. But in fact these Sony cameras let you sweep left to right; right to left; up to down; and down to up. These cameras also capture three dimensional appearing images using 3D Sweep Panorama that can be displayed on certain compatible 3D television sets.
Here’s a few of the panoramas that I’ve taken with various Sony cameras. You can click on each of the images to see a wide view of the panorama.
(more…)
Puzzled about your photograph?
18th April 2012
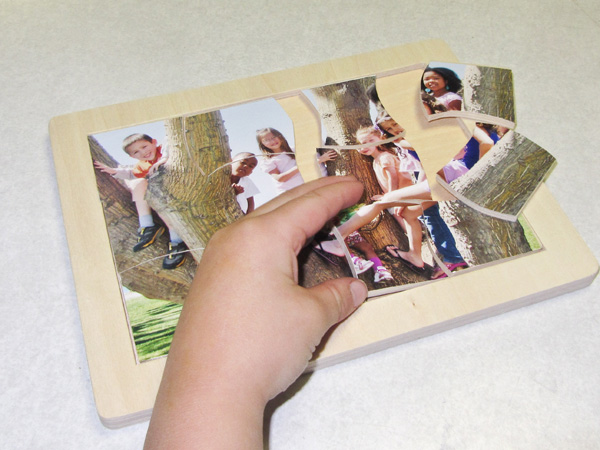
Jigsaw Puzzles – a do-it-yourself kit
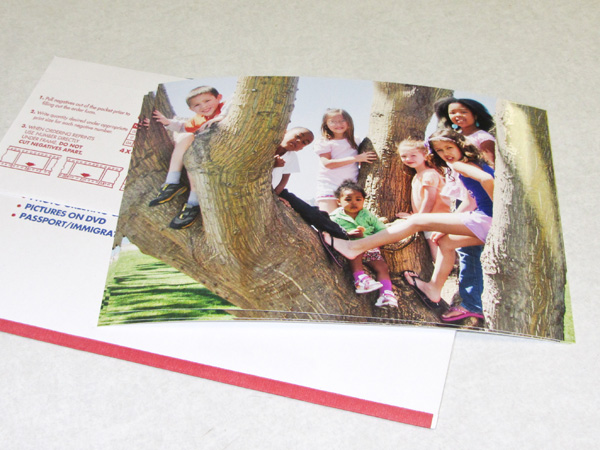
On a recent holiday out West, I snapped a lucky group photo of our some of our grandkids. It was a lucky shot in which all of the kids were posed nicely, facing the camera.
When we returned home, my wife remembered that she had stashed away a couple of do-it-yourself photo jigsaw puzzles that would make a nice souvenir of our vacation.
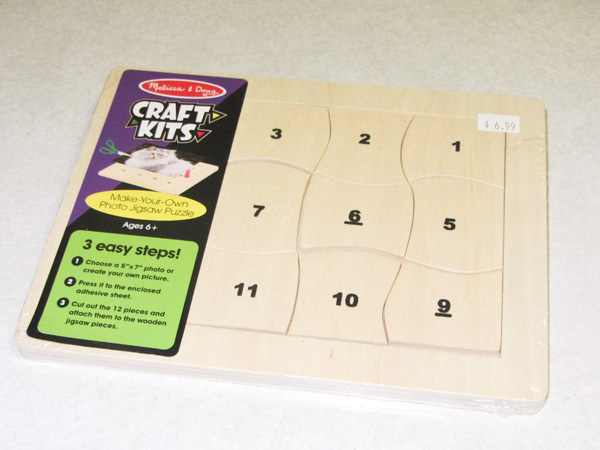
| Here’s the do-it-yourself jigsaw puzzle.
This one is called “Make-Your_own Jigsaw Puzzle” from Messisa & Doug, Item # 376. My wife bought the kit at a large craft store for about $7. |
 |
|
|
|
| This kit is to be used with a 5″ x 7″ photograph.
I printed a borderless photograph, cropped exactly as I wanted it to appear on the puzzle. Turn the adhesive sheet over and you’ll see the outline of the twelve jigsaw pieces. Using scissors, you cut along the lines which mirror the shape of the wooden jigsaw pieces. |
 |
|
|
|
| Finally, you remove the second paper backing from the adhesive sheet to reveal more adhesive. Each photo piece is then pressed onto the corresponding wooden puzzle piece.
This all takes about ten minutes and then your photo jig saw puzzle is ready! |
 |
|
|
|
|
|
|
My wife ended up making two of these puzzles to send to the grandkids in the photograph. We’re hoping that it will help them remember our visit.
Written by Arnie Lee
Easy Photo Gifts
07th April 2011
Do It Yourself Kits
I get a kick out of sharing my photos with others.
So when birthdays or holidays roll around I find myself looking for ways to turn some of my photos into gifts.
And like most of you, I’m also on the lookout for ways to save money.
For both of these projects, the sets were 50% off making each an inexpensive way to make custom photo gifts.
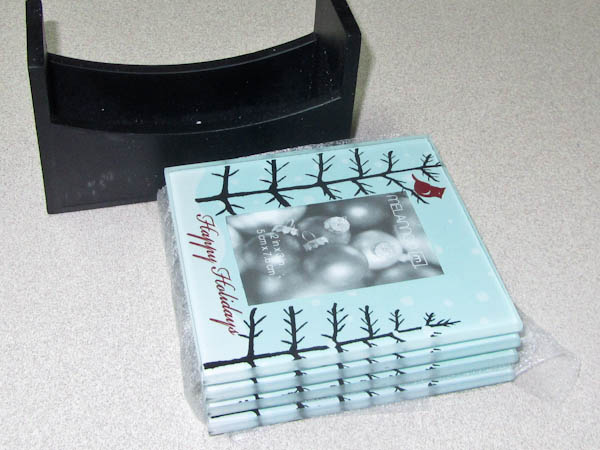
| For one project, I found a lovely coaster set.
While this one is meant for the Christmas Holidays, there sets available for other occasions as well. These attractive coasters are made of glass. |
 |
|
|
|
| Customizing the coaster set is simple.
Each coaster has a opening for a 2″ x 3″ photograph. |
 |
|
|
|
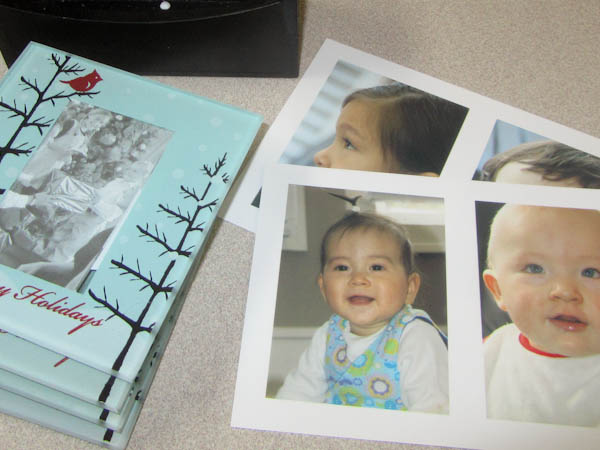
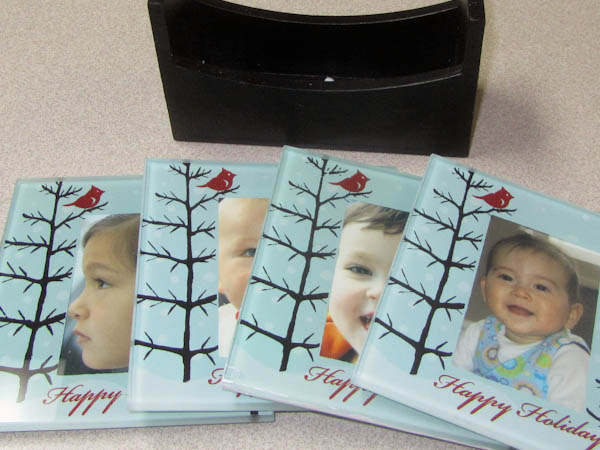
| Then it’s just a matter of trimming each photo and inserting it into the small photo mount on the back of the coaster.
Here are their happy faces ready to greet someone who needs a coaster for their drink. |
 |
|
|
|
| This set also includes a handy wooden holder that keeps the coasters organized when they’re not being used. |  |
|
This coaster kit is made by Melannco. This company makes many other photo-related products including frames and photo storage cases. The original price was $14.95 but I purchased it for only $7.50. |
|
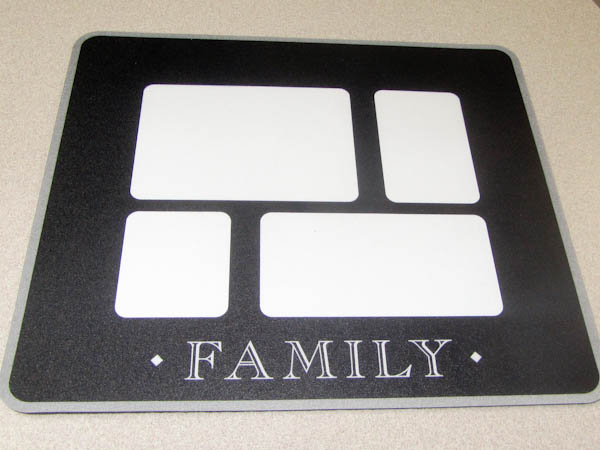
| Another popular photo gift item is a mousepad.
Here’s one that’s ready for you to customize. This mousepad has openings for four different size photographs. |
 |
|
|
|
| The sizes for each of these photos are indicated on the template (upper left corner) that is shipped with the package.
Again, I collected four photographs of family members that when printed could be sized to fit onto the template. |
 |
|
|
|
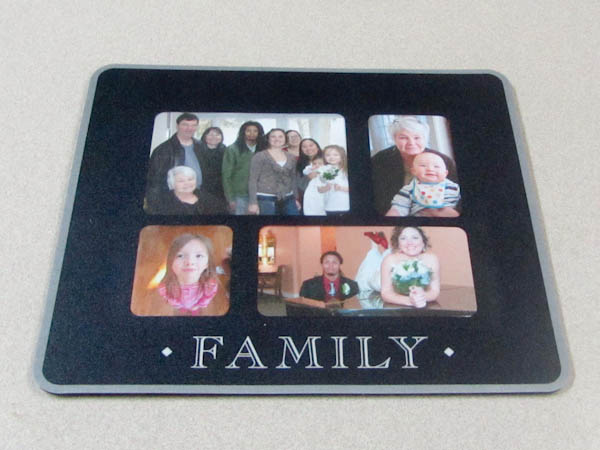
| Here I trimmed each of the photos and attached them to the template.
You can attach the photo with an adhesive, but I chose to use a small piece of scotch tape. |
 |
|
|
|
| When completed, the template slides into an opening on the back of the mousepad and beneath the clear, protective surface.
And that’s all you need to do to customize this gift. |
 |
|
This mousepad kit is also made by Melannco. The original price was $9.95 but I purchased it for only $5.00. |
|
Without a doubt, I’m happy with both the quality and cost of these photo gifts.
I purchased both of these kits at a local Kohls department store. I’ve seen similar kits made by other manufacturers for sale at Target, Michaels and Hobby Lobby. I’ve also seen them for sale online at Amazon.
To find out more about their products visit Melannco.
Please note that Stay Focused has no connection to Melannco.
Written by Arnie Lee
« Older Posts — Newer Posts »