Online Magazine
Recent Posts
- Safeguard your Cellphone Photos
- Black & White to Color – Instantly
- Wearing Many Hats
- Video Roundup
- Rescuing Your Blurry Pictures
- Showing Their Age
- What is Your Angle?
- Panorama Photos
- Humorous Photos
- Close Ups
- Fisheye Pictures
- Photo Antiquities
- Printing Big
- Appreciating Scale
- Celebrity Sightings
Tags
More Places to Go
- Free "How-To" Books “How To” books for popular cameras 0
- Vist Us on Facebook keep in touch with us on Facebook 2
Archives
- July 2023 (1)
- March 2023 (2)
- February 2023 (1)
- December 2022 (1)
- October 2022 (1)
- September 2022 (8)
- August 2022 (9)
- July 2022 (1)
- June 2022 (1)
- June 2021 (1)
- May 2021 (1)
- March 2021 (5)
- February 2021 (4)
- January 2021 (2)
- April 2019 (1)
- March 2019 (1)
- February 2019 (1)
- October 2018 (2)
- April 2018 (1)
- March 2018 (4)
- February 2018 (1)
- November 2017 (1)
- August 2017 (1)
- June 2017 (1)
- April 2017 (1)
- March 2017 (5)
- February 2017 (2)
- January 2017 (1)
- October 2016 (1)
- September 2016 (1)
- August 2016 (1)
- July 2016 (1)
- May 2016 (1)
- April 2016 (1)
- March 2016 (2)
- February 2016 (1)
- January 2016 (2)
- December 2015 (1)
- November 2015 (1)
- October 2015 (3)
- April 2015 (1)
- March 2015 (5)
- February 2015 (1)
- January 2015 (4)
- December 2014 (2)
- November 2014 (5)
- October 2014 (2)
- September 2014 (1)
- August 2014 (2)
- July 2014 (1)
- May 2014 (1)
- April 2014 (5)
- March 2014 (5)
- December 2013 (2)
- November 2013 (18)
- October 2013 (1)
- September 2013 (1)
- August 2013 (1)
- July 2013 (1)
- June 2013 (3)
- May 2013 (1)
- April 2013 (2)
- March 2013 (1)
- February 2013 (1)
- January 2013 (1)
- December 2012 (1)
- November 2012 (2)
- October 2012 (2)
- September 2012 (5)
- August 2012 (2)
- July 2012 (1)
- June 2012 (1)
- May 2012 (1)
- April 2012 (4)
- March 2012 (1)
- February 2012 (1)
- January 2012 (3)
- December 2011 (1)
- November 2011 (3)
- October 2011 (1)
- September 2011 (2)
- August 2011 (2)
- June 2011 (3)
- May 2011 (4)
- April 2011 (8)
- March 2011 (8)
- February 2011 (10)
- January 2011 (6)
- December 2010 (11)
- November 2010 (14)
- October 2010 (6)
- September 2010 (12)
- August 2010 (2)
- July 2010 (4)
- June 2010 (3)
- May 2010 (1)
- April 2010 (1)
- March 2010 (2)
- February 2010 (1)
- January 2010 (1)
- December 2009 (1)
- November 2009 (2)
- October 2009 (2)
- September 2009 (1)
- August 2009 (3)
- July 2009 (2)
- June 2009 (1)
- May 2009 (2)
- April 2009 (1)
- March 2009 (2)
- February 2009 (1)
- January 2009 (3)
An Unexpected Image
03rd August 2022
A Miscue Turns a Photo Into a Favorite
During the 60’s my favorite pastime was photography.
Having only an after school part time job, I used used many techniques to make an expensive hobby more affordable.
I remember buying 100-foot long “bulk film” to reload 35mm cartridges into shorter five foot 36-exposure lengths. This was enough for 18 cartridges of film – enough for the summer season for about the same cost as buying 6 individual rolls of Kodak or Ansco film.
Next I learned how to develop my own film. I constructed a small darkroom in my parents’ basement where I would hang the still-wet film on a clothesline to dry. Not long after I earned enough to buy an enlarger. Wow, I was in photo heaven. The enlarger let me make my own prints and I would patiently watch the image slowly appear (under a safelight) in the developing solution. I was having all of this fun for a fraction of the cost of sending the spent film to my local photofinisher.
Mine was a hobby was like that of many others where you just seem to keep spending your earning for the latest gadgets – easel for holding photographic paper, new developing trays for bigger enlargements, paper dryers for drying prints, color drum for making color prints, etc.
Perhaps you can now see that my association with photography goes back a very long time.
From all of those years spent in the darkroom in the 60s and 70’s there is one event that I remember well. It was a darkroom miscue that had a happy result.
But first a quick intro to how to develop a roll of 35mm black and white film:
In a dark, lightproof room, you remove the exposed film from its cartridge and slide it onto a metal reel. The reel is placed into a stainless steel tank with a specially designed top which lets you complete the development in normal room light. Pour the developer solution into the tank for a designated time – usually 6 to 8 minutes and then pour the developer solution out of the tank . Next pour plain water into the tank for one minute to halt the film development and discard the water. Then pour in the final solution called fixer for 5 minutes. This desensitizes the film from light and makes the image permanent. Now it’s safe to remove the film from the tank and give it a final rinse wash in water for ten minutes.
These operations are done with all of the liquids – developer, water and fixer – at a temperature of 68 degrees F. On one occasion, I inadvertently washed a developed roll at a colder temperature. I wasn’t paying attention and unknown to me at the time the final rinse water must have been a lot colder.
I removed the film from the reel and hung it on a line to dry. But when I finally looked, several of the frames looked very weird.
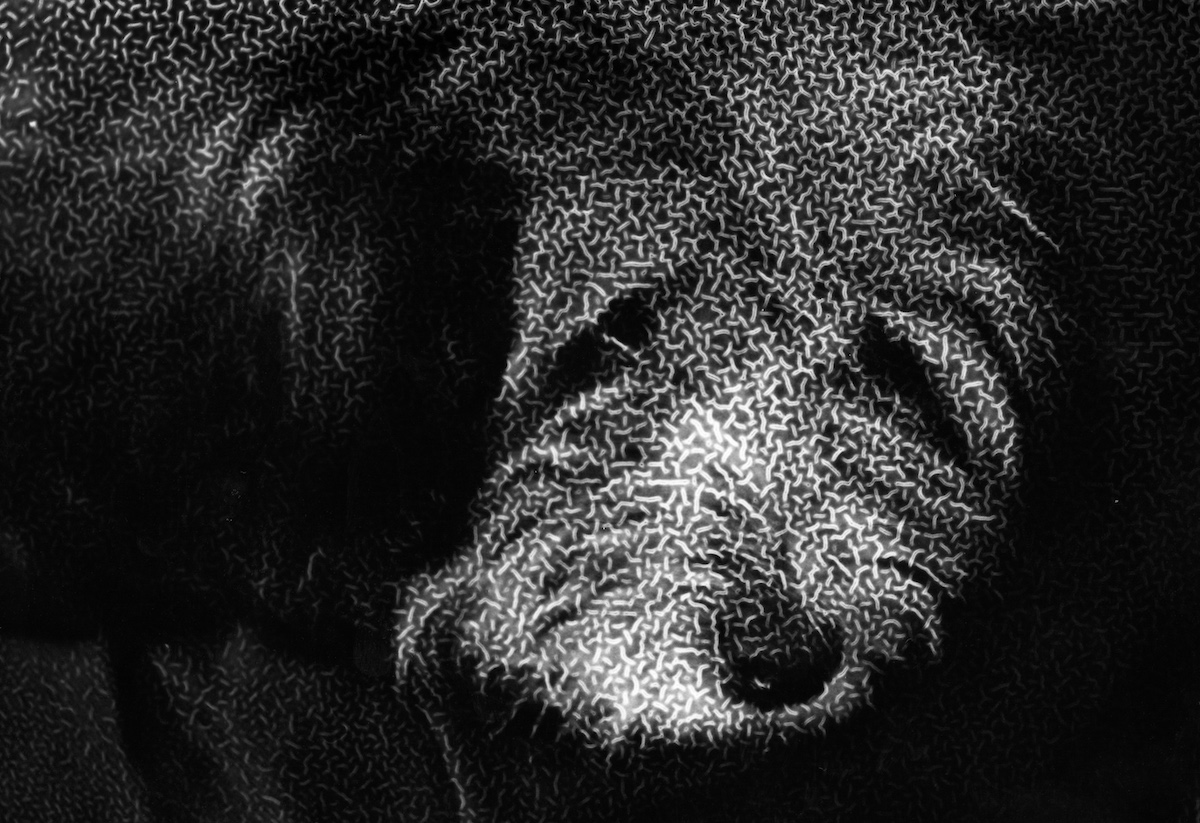
Sometimes a mistake turns into a favorite.
Written by: Arnie Lee
Giving Your Prints a Backbone
01st August 2022
After You Finally Print That Cellphone Photo
The overwhelming number of photos these days reside on cellphones. It’s common see friends staring at a screen as one of them swipes to show you that funny picture that they captured a few days ago.
Once in a while you may have want to get that image off of your screen and into someone’s hand. You can send the digital copy to your home printer or email it to your local Walgreen (or other local printer) to have it turned into a “real” photograph.
When it’s finally printed you can clip it to your refrigerator door with a magnet, scotch tape it to a nearby wall or mail it to your grandma to show her your graduation gown and diploma. But you may want to print a treasured photo and turn it into a proud presentation.
Here’s a few ways that I’ve done this over the years.
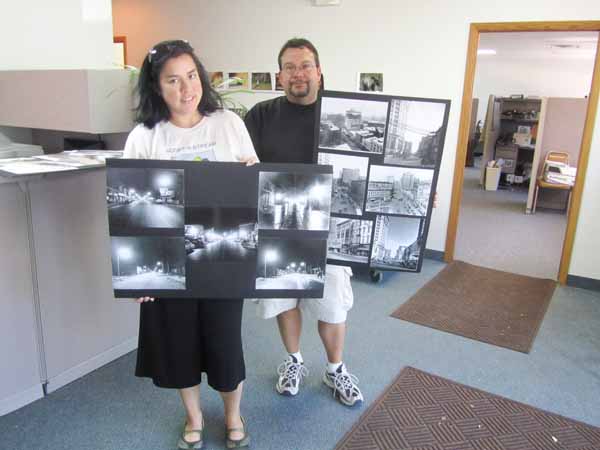
Dry Mounting |
|
 |
 |
|
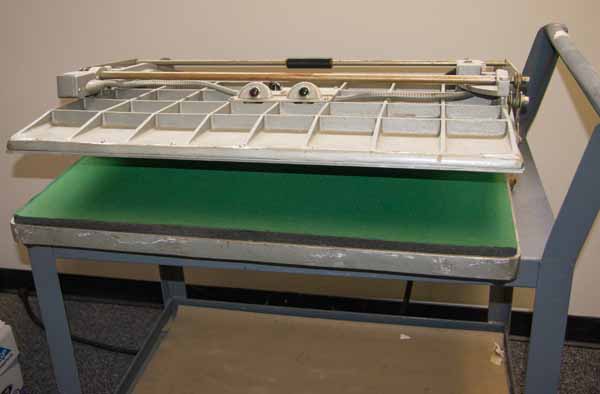
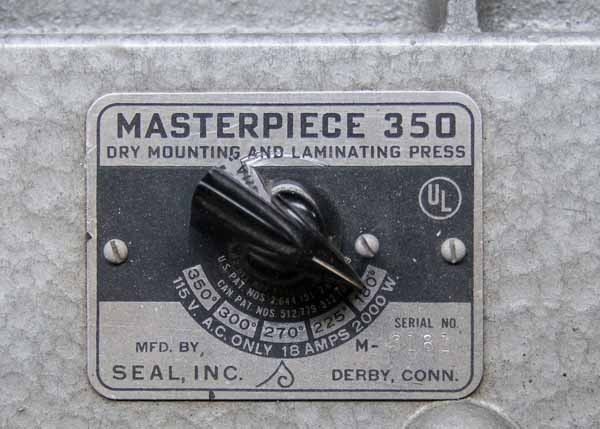
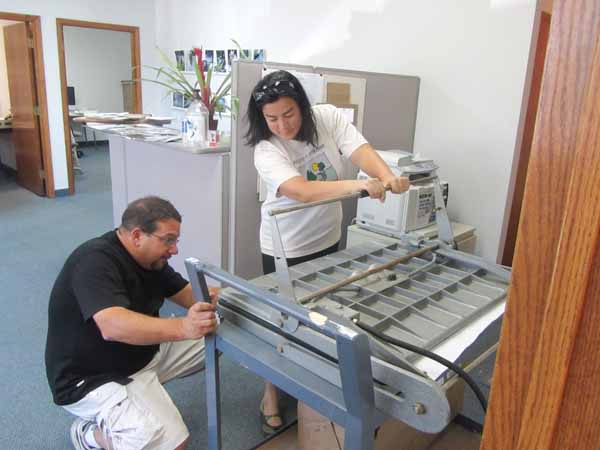
This large piece of equipment is called a dry mount press. A thin sheet of specially prepared paper is sandwiched between a mounting board and the back of the photograph. The heated press squeezes the sandwich for a short time leaving the photograph “pasted” to the board.
|
|
|
|
|
 |
 |
|
This press can handle photographs enlargement up to 20″ x 24″. Other dry mounting presses are available in smaller sizes.
|
|
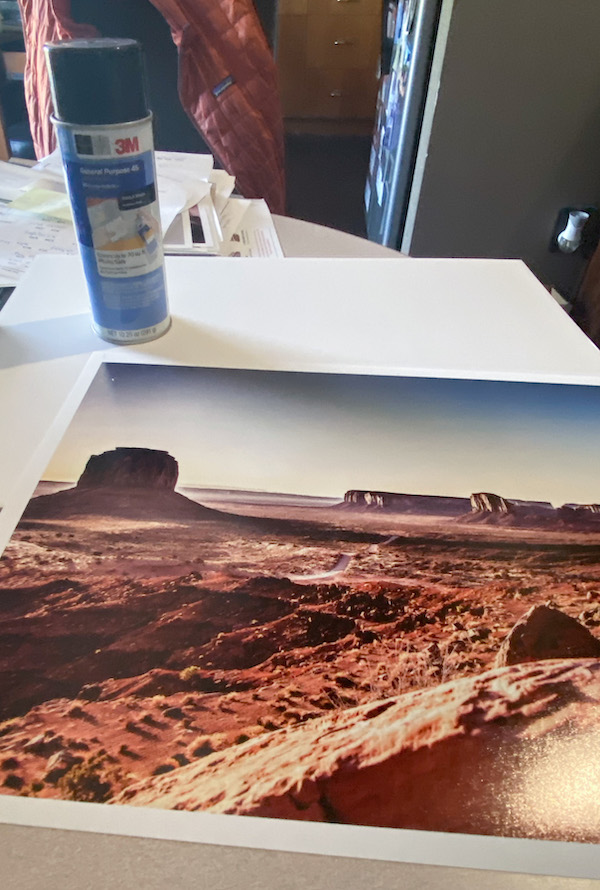
Spray Adhesive Mounting |
|
 |
 |
|
For smaller prints I sometimes use this adhesive spray. This one is made by 3M but other similar products are also available.
|
|
|
|
|
|
|
|
 |
 |
|
The adhesive is evenly sprayed on the back of the photograph. Place the photograph on a larger piece of paper or corrugate since the adhesive will “overspray”. You’ll want to do this is a non-enclosed space so that you don’t inhale the fumes. Carefully apply the photograph to the mounting board.
|
|
|
|
|
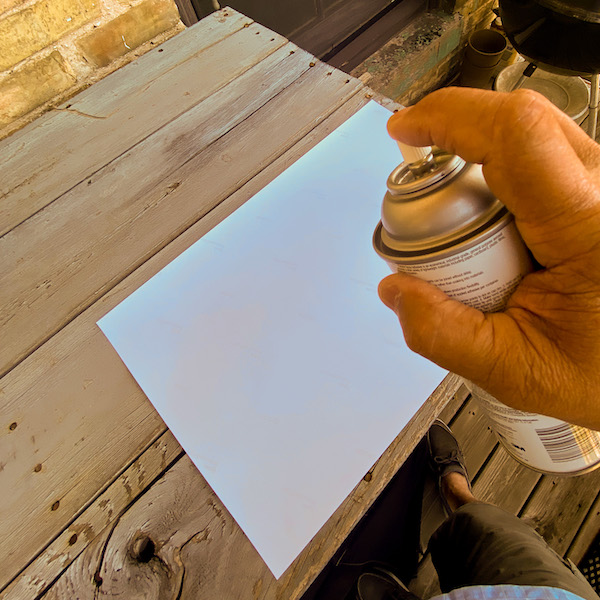
Ultra Board Mounting |
|
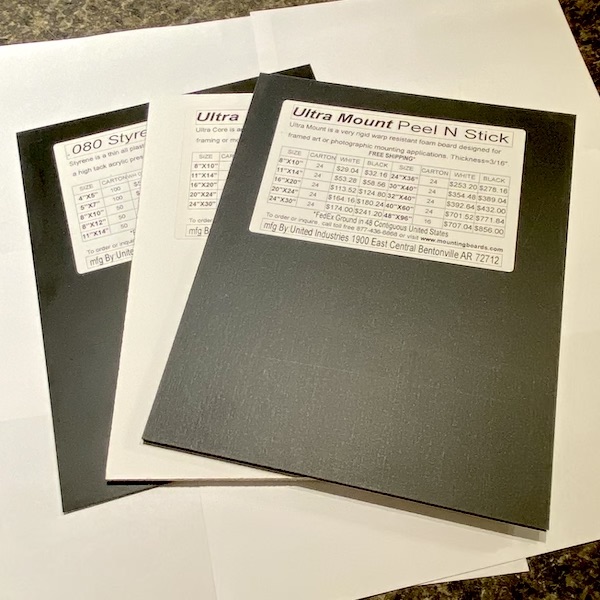 I discovered a very convenient product for presenting photographs called “UltraBoard”. These products are available in various sizes and thicknesses from United Industries |
 |
|
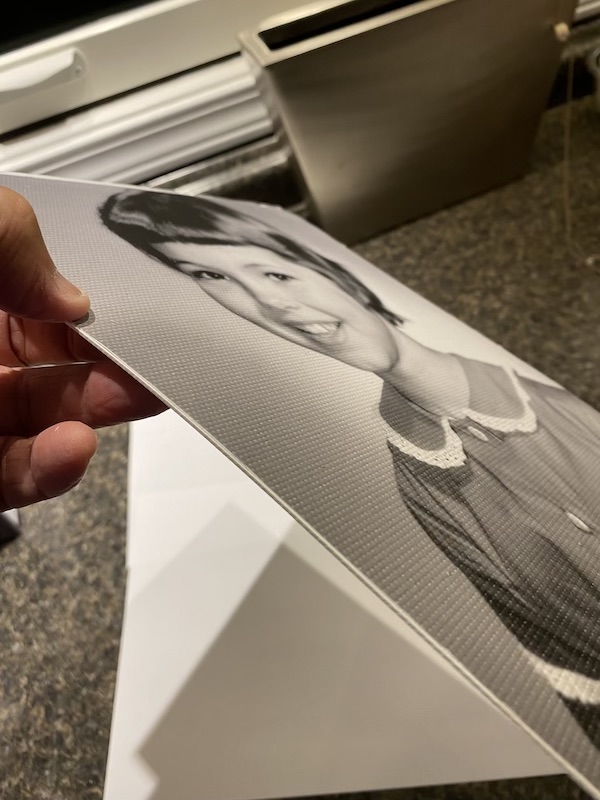
Using an UltraBoard is simple. Unpeal the protective backing from the board and carefully position your photograph onto the surface.
|
|
|
|
|
 |
 |
|
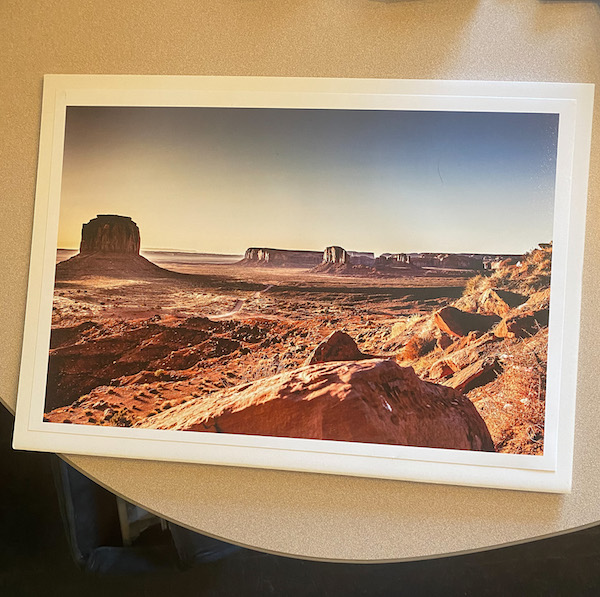
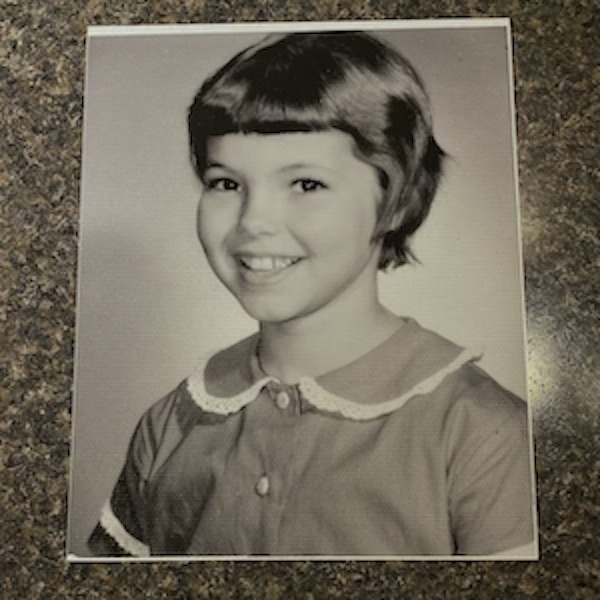
The photograph is securely mounted to the flexible board and ready for presentation.
|
|
When you finally get those images off of your cellphone you now have few ways of making a presentation quality photo.
Why not show off your favorites without swiping your cellphone screen?
Written by: Arnie Lee
How Many Pixels Do You Need?
30th July 2022
More Pixels Let You Get More Detail From Your Originals.
One of the first digital cameras that I owned was the Olympus C-2000Z. This was way back in the year 2000. With its 3X zoom lens it had a sensor able to record images 1600 x 1200 pixels – roughly 2.5 megapixels. I treasured this digital camera since it allowed me to bypass the all of the film, darkroom and scanning steps and go directly to the computer screen. While the consensus is that 35mm film is roughly equivalent to 20 megapixel resolution, the quality of printed images from the C-2000Z would not match those made with film but they were certainly adequate for computer display.
Of course we’ve witnessed so many amazing improvements in technology these past twenty years and many would argue that digital imaging quality has surpassed that of film.
Since then I’ve been lucky enough (or unlucky according to my wife) to own a succession of digital cameras. With each new model the sensor resolution among other features has steadily increased. For a few years I have been using the Sony A7 III camera. This is a full-frame, mirrorless device with a 24 megapixel sensor and has proven to deliver excellent images under a large variety of shooting conditions. This camera had about the equivalent image quality as my ancient 35mm film cameras about 6000 x 4000 pixels.
A few years ago I upgraded to a newer Sony A7R IV camera mostly for its advanced autofocus and high burst shooting capabilities. It also gave me another feature – a sensor that captures 9500 x 6300 pixels – an astounding 60 megapixels of imaging data.
Shortly thereafter on my next photo excursion by car, I headed out west with the A7R IV.
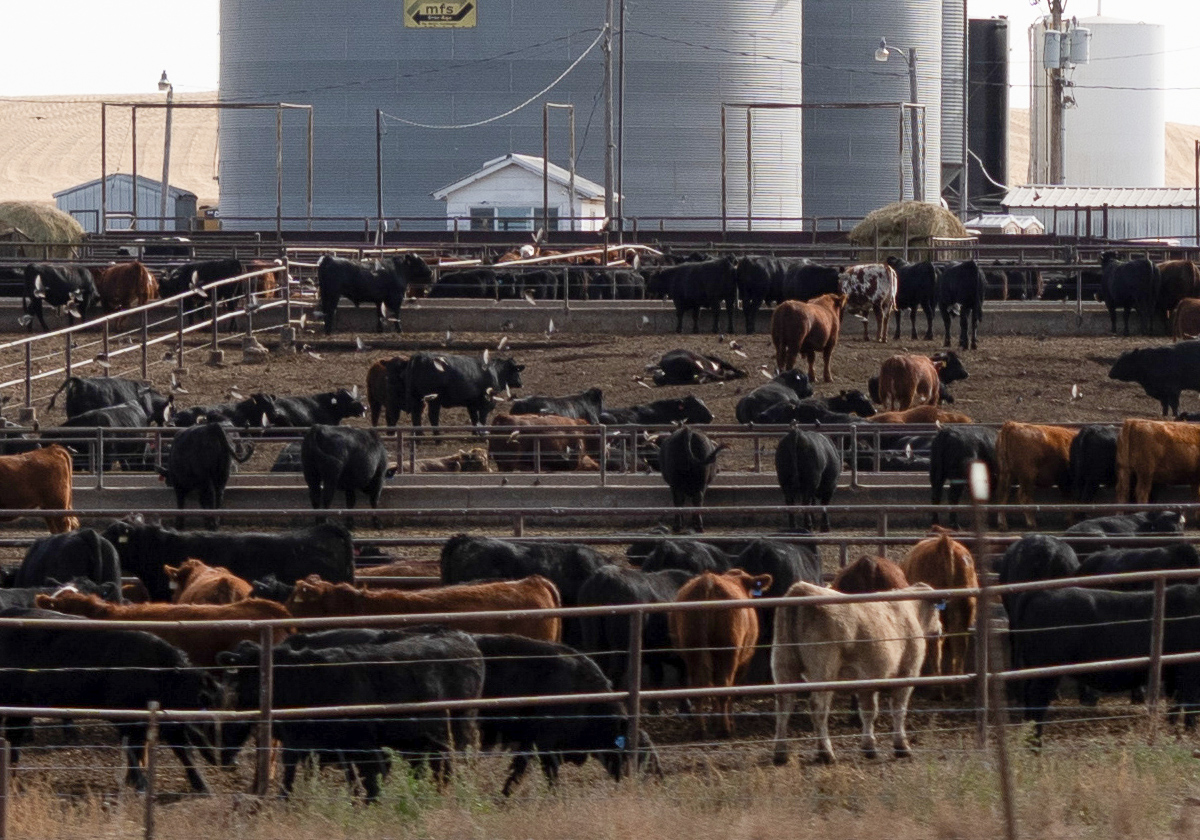
Below is a photograph that I took when I stopped to shoot a large cattle feed lot near Ogallala, NE. I was standing across the Interstate highway about 100 yards from the lot fence.
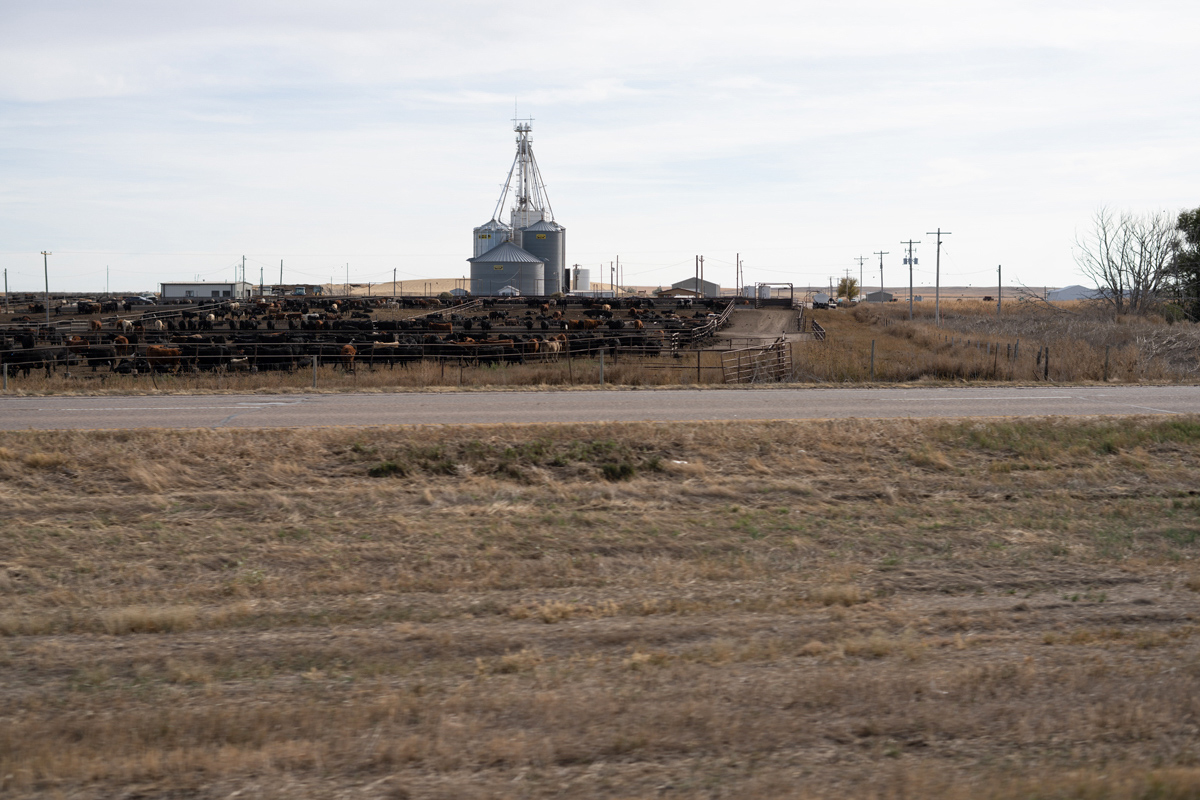
Below I have cut portions from the original image to show you the amount of detail this camera is capable of recording. These portions are not enlargements. They are part of the original 9500 x 6300 image that have been cropped to fit on the computer screen.
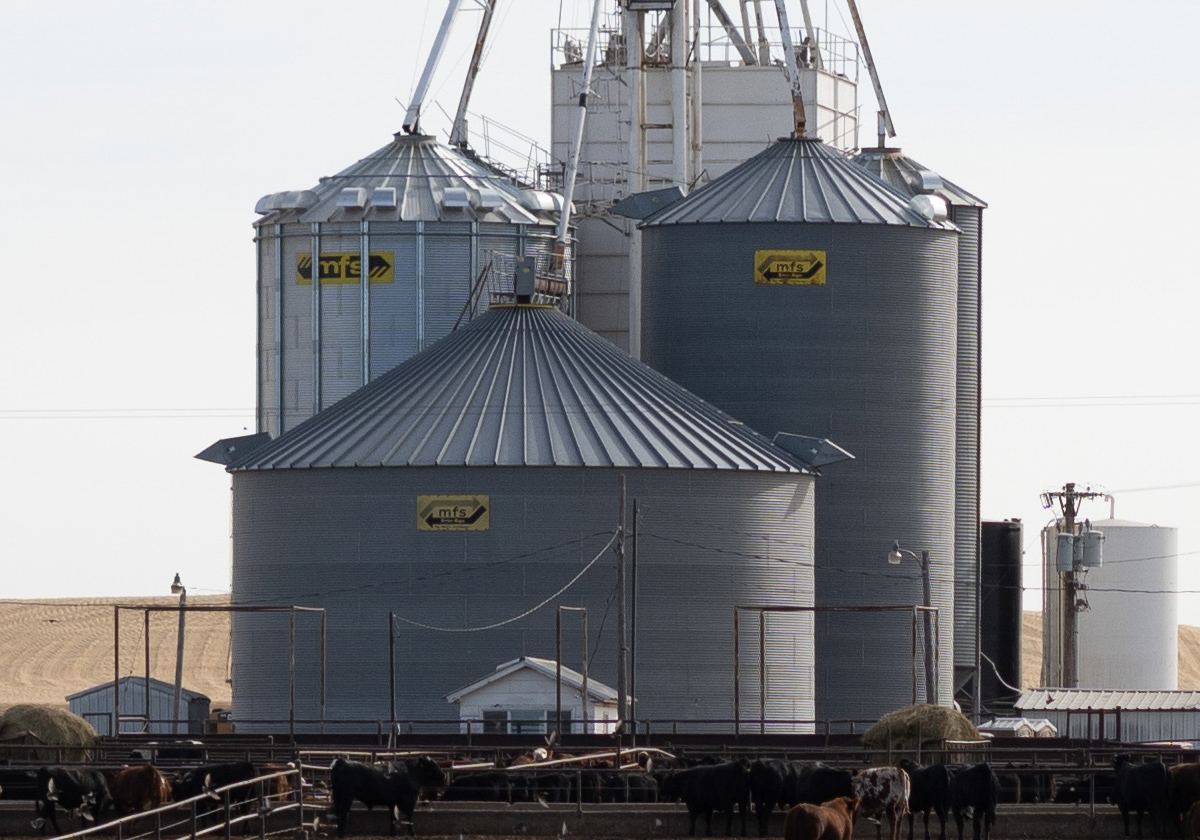
Here you can see the silo with the logo towards the back of the feed lot.
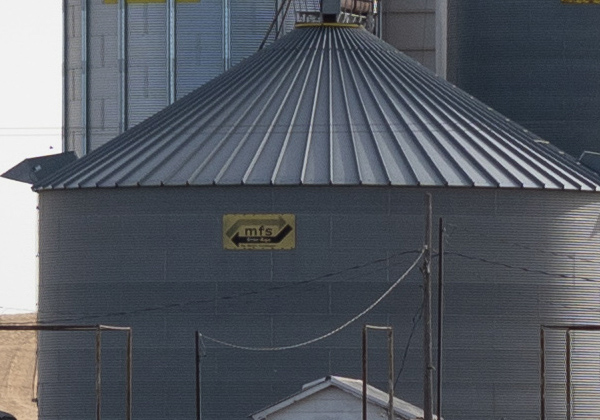
Hopefully you can see why high resolution equipment is useful when shooting subjects such as scenery or wildlife. Capturing so much detail enables you to crop portions of your original photograph to achieve a desired composition.
Written by: Arnie Lee