Online Magazine
Recent Posts
- Safeguard your Cellphone Photos
- Black & White to Color – Instantly
- Wearing Many Hats
- Video Roundup
- Rescuing Your Blurry Pictures
- Showing Their Age
- What is Your Angle?
- Panorama Photos
- Humorous Photos
- Close Ups
- Fisheye Pictures
- Photo Antiquities
- Printing Big
- Appreciating Scale
- Celebrity Sightings
Tags
More Places to Go
- Free "How-To" Books “How To” books for popular cameras 0
- Vist Us on Facebook keep in touch with us on Facebook 2
Archives
- July 2023 (1)
- March 2023 (2)
- February 2023 (1)
- December 2022 (1)
- October 2022 (1)
- September 2022 (8)
- August 2022 (9)
- July 2022 (1)
- June 2022 (1)
- June 2021 (1)
- May 2021 (1)
- March 2021 (5)
- February 2021 (4)
- January 2021 (2)
- April 2019 (1)
- March 2019 (1)
- February 2019 (1)
- October 2018 (2)
- April 2018 (1)
- March 2018 (4)
- February 2018 (1)
- November 2017 (1)
- August 2017 (1)
- June 2017 (1)
- April 2017 (1)
- March 2017 (5)
- February 2017 (2)
- January 2017 (1)
- October 2016 (1)
- September 2016 (1)
- August 2016 (1)
- July 2016 (1)
- May 2016 (1)
- April 2016 (1)
- March 2016 (2)
- February 2016 (1)
- January 2016 (2)
- December 2015 (1)
- November 2015 (1)
- October 2015 (3)
- April 2015 (1)
- March 2015 (5)
- February 2015 (1)
- January 2015 (4)
- December 2014 (2)
- November 2014 (5)
- October 2014 (2)
- September 2014 (1)
- August 2014 (2)
- July 2014 (1)
- May 2014 (1)
- April 2014 (5)
- March 2014 (5)
- December 2013 (2)
- November 2013 (18)
- October 2013 (1)
- September 2013 (1)
- August 2013 (1)
- July 2013 (1)
- June 2013 (3)
- May 2013 (1)
- April 2013 (2)
- March 2013 (1)
- February 2013 (1)
- January 2013 (1)
- December 2012 (1)
- November 2012 (2)
- October 2012 (2)
- September 2012 (5)
- August 2012 (2)
- July 2012 (1)
- June 2012 (1)
- May 2012 (1)
- April 2012 (4)
- March 2012 (1)
- February 2012 (1)
- January 2012 (3)
- December 2011 (1)
- November 2011 (3)
- October 2011 (1)
- September 2011 (2)
- August 2011 (2)
- June 2011 (3)
- May 2011 (4)
- April 2011 (8)
- March 2011 (8)
- February 2011 (10)
- January 2011 (6)
- December 2010 (11)
- November 2010 (14)
- October 2010 (6)
- September 2010 (12)
- August 2010 (2)
- July 2010 (4)
- June 2010 (3)
- May 2010 (1)
- April 2010 (1)
- March 2010 (2)
- February 2010 (1)
- January 2010 (1)
- December 2009 (1)
- November 2009 (2)
- October 2009 (2)
- September 2009 (1)
- August 2009 (3)
- July 2009 (2)
- June 2009 (1)
- May 2009 (2)
- April 2009 (1)
- March 2009 (2)
- February 2009 (1)
- January 2009 (3)
Epson SureColor P600
21st March 2015
Professional Quality Prints
One of the stops at this month’s Wedding & Portrait Photographers International Expo was the Epson booth.
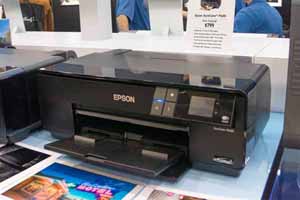
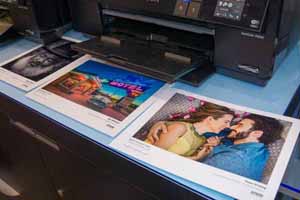
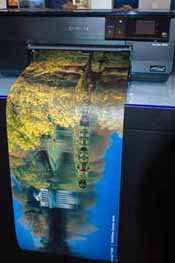
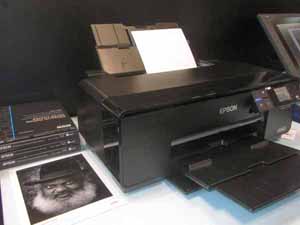
For several years I’ve used the Epson R2880 to print mid-size photographs. I wanted to see the new Epson P600 which is the successor to the R2880. The two are similar in many respects: 9 ink cartridges; 3 levels of black for b&w images; accommodates paper sizes to 13″ x 19″; 13″ roll paper handling for 13″ wide panoramas.
The P600 uses Epson’s latest UltraChrome HD ink. The ink is packaged in higher capacity cartridges. According to the Epson representative, the black inks have been improved for richer b&w prints.
I’m a fan of many of Epson’s photo and fine art papers to creatively match your images. They include glossy, matte, metallic, textured, canvas, more. The P600 is on my short list of equipment to buy.
The suggested price is $799 and is available immediately. For more information about the P600, please visit Epson.
Written by Arnie Lee
PhotoPlus Expo 2014 – Epson P600
19th November 2014
High Quality Desktop Printer
I’m an ardent believer that it’s better to get your photographs off of your hard drive and into print.
About ten years ago, we had a 13″ wide printer to handle some of our smaller photographs. However, after it died following a long and generous life, we chose not to replace it. Since then we’ve been using a variety of photofinishers to reproduce our photographs.
After strolling by the Epson booth and seeing some of their impressive photograph displays, I talked to one of their customer representatives and am now considering their new Surecolor P600.
I asked the Epson representative about my concern about clogged ink cartridges when the printer is sits unused for a short while and was told that the ink will remain usable for up to six months from installation.
The list price of the Epson Surecolor P600 is $795. For more information, see the Epson P600 webpage for details.
The P600 is now on my short list of equipment purchases. I’m anxious to print several panoramas that I’ve stored on my hard drive – again, the hard drive is not a good place to keep photographs.
Written by: Arnie Lee
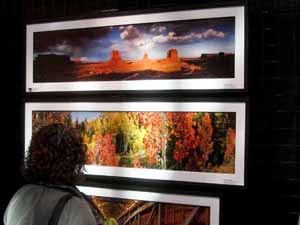
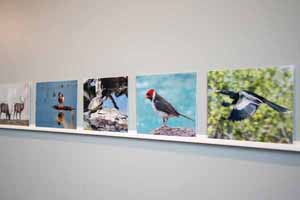
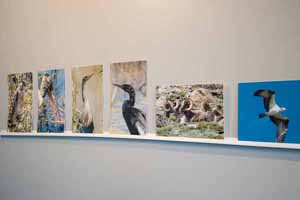
A Simple Photo Gallery
25th May 2014
Showing Off Your Photographs
Digital gives us the opportunity to take hundreds and hundreds of photos for almost no cost at all. This is an amazing turnaround compared to the price of using film cameras that had a processing charge saddled to each roll of film that we shot.
So what are we doing with all of these “free” photos? Are they sitting on the SD memory card or cell phone? I’m sure that my friends and relatives are impressed as I flick through the tiny screen to show them my recent vacation shot – NOT!
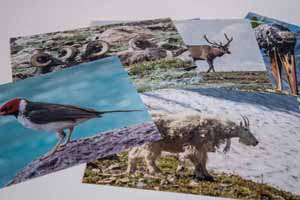
Well, to be frank, my fingers are tired of flicking the screen. And my friends and relatives typically avoid asking to see pictures of my travels. So I decided to print – yes you heard it correctly – print some of the photos.
Material List:
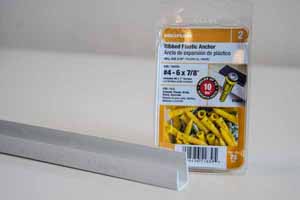
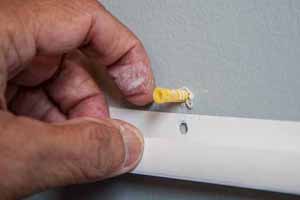
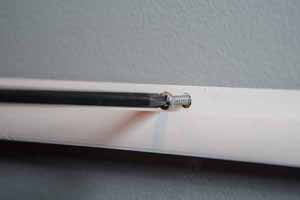
2 pieces of J-Channel – 10′ Vinyl 1/2″ J_Trim @ $2.40 each (Home Depot)
1 pkg – plastic ribbed anchors #4 – 1″ @ $7.99
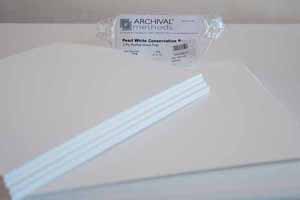
1 pkg – 8″ x 10″ or 8″ x 12″ mat board 25 sheets @ $12.50
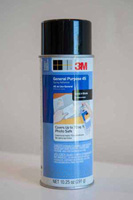
1 can 3M General Purpose 45 spray mount @ $5.00
Written by: Arnie Lee
