Online Magazine
Recent Posts
- Safeguard your Cellphone Photos
- Black & White to Color – Instantly
- Wearing Many Hats
- Video Roundup
- Rescuing Your Blurry Pictures
- Showing Their Age
- What is Your Angle?
- Panorama Photos
- Humorous Photos
- Close Ups
- Fisheye Pictures
- Photo Antiquities
- Printing Big
- Appreciating Scale
- Celebrity Sightings
Tags
More Places to Go
- Free "How-To" Books “How To” books for popular cameras 0
- Vist Us on Facebook keep in touch with us on Facebook 2
Archives
- July 2023 (1)
- March 2023 (2)
- February 2023 (1)
- December 2022 (1)
- October 2022 (1)
- September 2022 (8)
- August 2022 (9)
- July 2022 (1)
- June 2022 (1)
- June 2021 (1)
- May 2021 (1)
- March 2021 (5)
- February 2021 (4)
- January 2021 (2)
- April 2019 (1)
- March 2019 (1)
- February 2019 (1)
- October 2018 (2)
- April 2018 (1)
- March 2018 (4)
- February 2018 (1)
- November 2017 (1)
- August 2017 (1)
- June 2017 (1)
- April 2017 (1)
- March 2017 (5)
- February 2017 (2)
- January 2017 (1)
- October 2016 (1)
- September 2016 (1)
- August 2016 (1)
- July 2016 (1)
- May 2016 (1)
- April 2016 (1)
- March 2016 (2)
- February 2016 (1)
- January 2016 (2)
- December 2015 (1)
- November 2015 (1)
- October 2015 (3)
- April 2015 (1)
- March 2015 (5)
- February 2015 (1)
- January 2015 (4)
- December 2014 (2)
- November 2014 (5)
- October 2014 (2)
- September 2014 (1)
- August 2014 (2)
- July 2014 (1)
- May 2014 (1)
- April 2014 (5)
- March 2014 (5)
- December 2013 (2)
- November 2013 (18)
- October 2013 (1)
- September 2013 (1)
- August 2013 (1)
- July 2013 (1)
- June 2013 (3)
- May 2013 (1)
- April 2013 (2)
- March 2013 (1)
- February 2013 (1)
- January 2013 (1)
- December 2012 (1)
- November 2012 (2)
- October 2012 (2)
- September 2012 (5)
- August 2012 (2)
- July 2012 (1)
- June 2012 (1)
- May 2012 (1)
- April 2012 (4)
- March 2012 (1)
- February 2012 (1)
- January 2012 (3)
- December 2011 (1)
- November 2011 (3)
- October 2011 (1)
- September 2011 (2)
- August 2011 (2)
- June 2011 (3)
- May 2011 (4)
- April 2011 (8)
- March 2011 (8)
- February 2011 (10)
- January 2011 (6)
- December 2010 (11)
- November 2010 (14)
- October 2010 (6)
- September 2010 (12)
- August 2010 (2)
- July 2010 (4)
- June 2010 (3)
- May 2010 (1)
- April 2010 (1)
- March 2010 (2)
- February 2010 (1)
- January 2010 (1)
- December 2009 (1)
- November 2009 (2)
- October 2009 (2)
- September 2009 (1)
- August 2009 (3)
- July 2009 (2)
- June 2009 (1)
- May 2009 (2)
- April 2009 (1)
- March 2009 (2)
- February 2009 (1)
- January 2009 (3)
A Simple Photo Gallery
25th May 2014
Showing Off Your Photographs
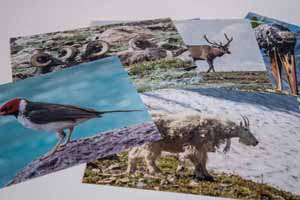
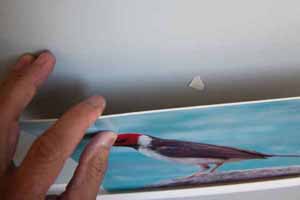
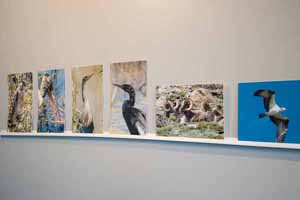
Digital gives us the opportunity to take hundreds and hundreds of photos for almost no cost at all. This is an amazing turnaround compared to the price of using film cameras that had a processing charge saddled to each roll of film that we shot.
So what are we doing with all of these “free” photos? Are they sitting on the SD memory card or cell phone? I’m sure that my friends and relatives are impressed as I flick through the tiny screen to show them my recent vacation shot – NOT!
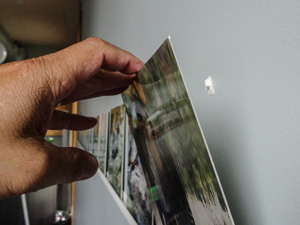
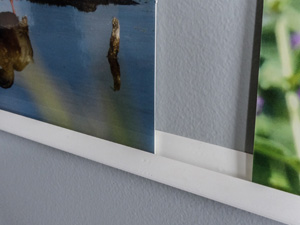
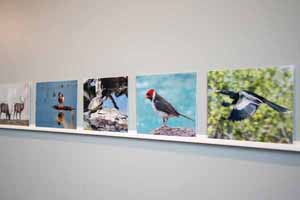
Well, to be frank, my fingers are tired of flicking the screen. And my friends and relatives typically avoid asking to see pictures of my travels. So I decided to print – yes you heard it correctly – print some of the photos.
Material List:
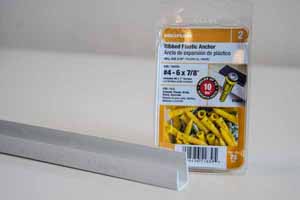
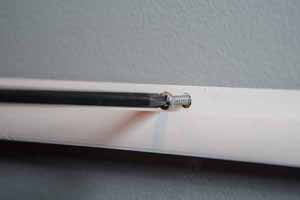
2 pieces of J-Channel – 10′ Vinyl 1/2″ J_Trim @ $2.40 each (Home Depot)
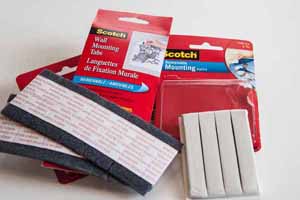
1 pkg – plastic ribbed anchors #4 – 1″ @ $7.99
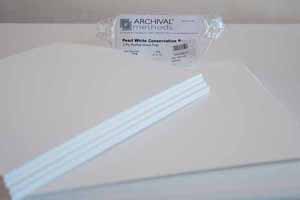
1 pkg – 8″ x 10″ or 8″ x 12″ mat board 25 sheets @ $12.50
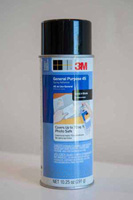
1 can 3M General Purpose 45 spray mount @ $5.00
Written by: Arnie Lee
The Small Stuff
23rd November 2013
Sometimes it’s the little things that count
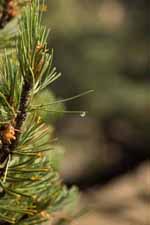
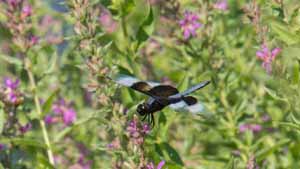
I love being outdoors enjoying nature. And I’m an ardent admirer of landscapes and scenery.
When I’m hiking the scented woods, the winding trails, the golden meadows or the salty seashores, my eyes are usually drawn to the big things – the rolling hills, the roaring rivers, the jagged mountains, the immense forests.
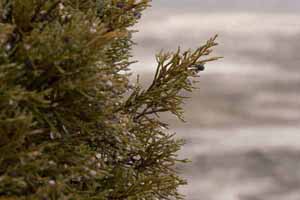
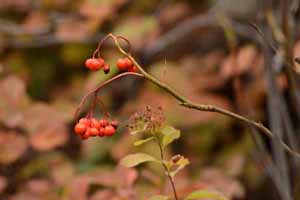
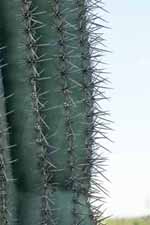
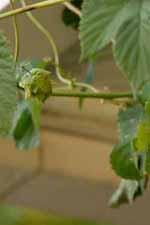
But every so often something tiny, delicate or ephemeral catches my attention. I’m not deliberately seeking out the “small stuff” but somehow they make their way to the front of my lens as I attempt to duplicate the emotive feeling that I get from seeing them.
 |
 |
 |
 |
 |
 |
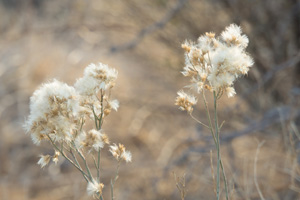 |
Maybe after looking at a few of these up close photos, you’ll have a better understanding of how transitioning from the big stuff to the little stuff can change your point of view in a hurry.
Written by: Arnie Lee
A Visit To Upper Antelope Canyon
21st November 2013
Another Amazing Feat of Nature
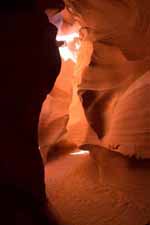
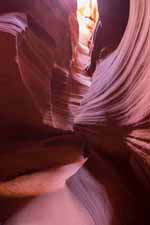
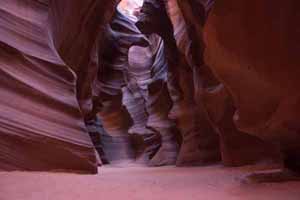
The story goes that hundreds of years ago herds of antelope grazed on the grounds where natural forces carved an assortment of narrow passages through the sandstone to create what native Americans call Tsé bighánílíní or the place where water runs through the rocks.
This sacred Navajo monument is commonly known as Upper Antelope Canyon. This slot canyon is a phenomenal site to experience and photograph.
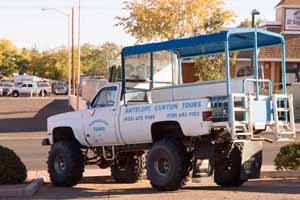
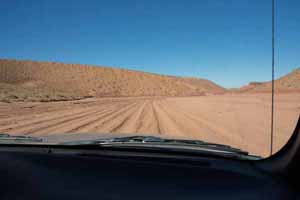
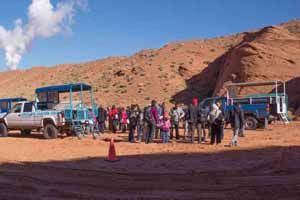
Since Antelope Canyon is a Navajo Tribal Park, access is is granted only through one of five guide services that operate from nearby Page, Arizona which is also home to the Glen Canyon Dam. I chose to take an extended 2-1/2 hour photographic tour.
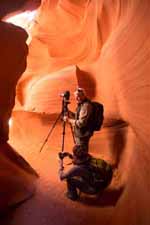
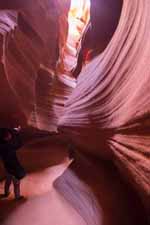
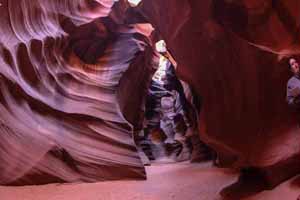
I’ll illustrate my visit with photos that show you the scale of the passageways and canyon walls in relation to the size of an average visitor.
| The widest part of the canyon is a cathedral-like alcove near the entrance.
Here the canyon opens to about 30 feet wide and the walls are simply splendid. |
|
 |
 |
For anyone interested, I chose the 2-1/2 hour photographic tour from Antelope Canyon Tours. The cost was $80.
Before this visit, Antelope Canyon had been on my list of “must see” places for several years. Now that I’ve experienced this enjoyable place, I am again thoroughly impressed by Mother Nature.
Written by: Arnie Lee
« Older Posts — Newer Posts »
