Highest Quality Photos from an Earlier Era
As a youngster I caught the photobug early. I took loads of pictures and used my modest allowance and money gifts to buy darkroom supplies and equipment.
In high school I was thrilled when Mom helped me find a part time job working for a local photographer (a schoolmate of Mom from her earlier years). John taught me the ins and outs of the photography profession and later helped me land several jobs at high end photo labs in the Park Ave area of New York City where many large ad agencies were based.
In the 1960s these large ad agencies and their clients were requiring top notch photographs for their advertisements in the colorful gloss magazines and newspapers. Many of them insisted on dye transfer prints. These were photographs that had “exacting” contrast and coloring to make them pop on the publication pages.
The process to make a dye transfer print is quite involved. The original transparency is dissected into the three component colors and photographically transferred to dye-absorbent matrices – often referred to as a “mat”. The mats are bathed in three different color dyes and deposited one at a time onto white photo paper. The resulting print is a high quality reproduction of the original transparency. The intensity and brightness of the scene can be precisely adjusted at each step of the process allowing for the extremely fine quality prints demanded by the clients.
For those techies who are interested in the dye transfer process, you’ll find a short description here.
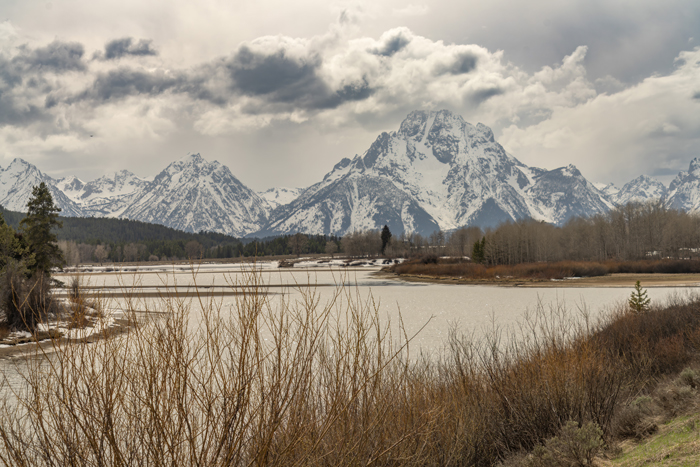
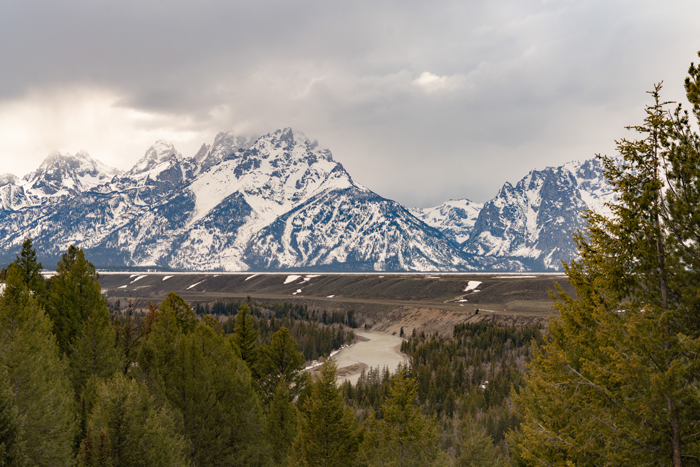
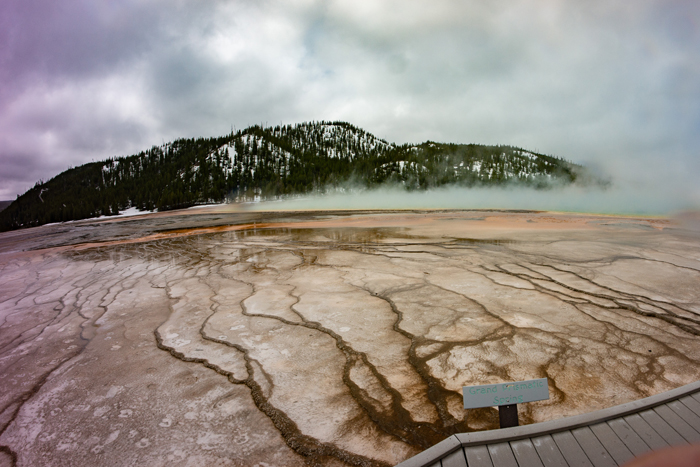
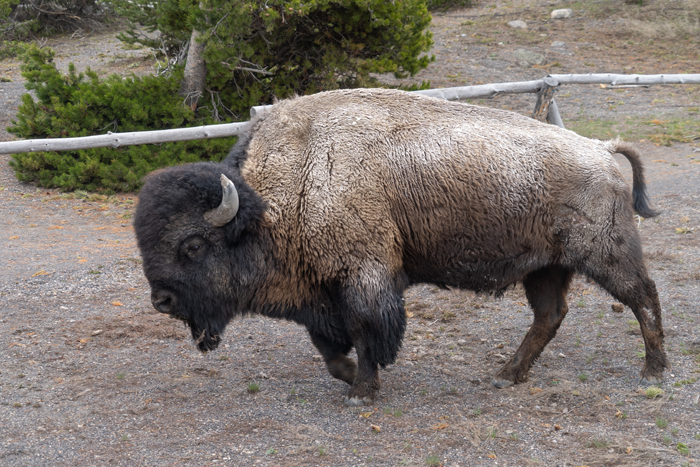
Below are a couple of sample dye transfer prints used in the advertising industry from the 1960s that I helped to produce. Both of these prints are approximately 20″ x 24″ in size.
The popularity of this form of photography especially in the advertising industry stems from the extensive precision the user has in controlling the individual colors, saturation, shading, contrasts, etc. This precision was not possible with any other process at the time.
However the arrival of digital photography changed the print processing landscape and dye transfer lost many of its advantages. By the early 1990s Eastman Kodak decided to stop making the dye transfer chemicals which portended the end of its run as the high quality king of prints.
While dye transfer is no longer a viable way to produce high quality prints, I thoroughly benefited and enjoyed learning in-depth photography from my several jobs making these photographic relics.
Written by: Arnie Lee