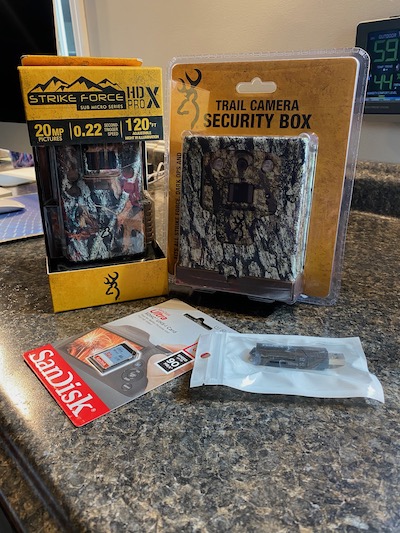
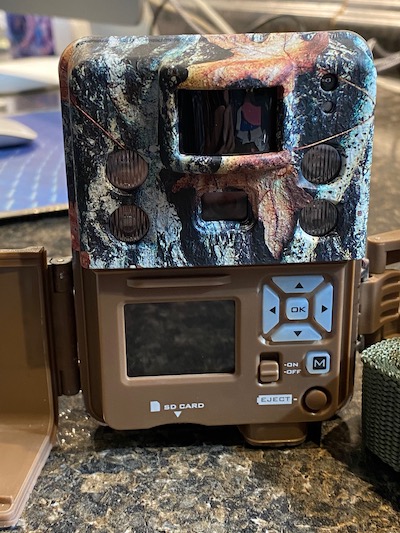
Every once in a while I like to experiment with high key black and white photos. A high key photo has most of the mid-tones removed, leaving only the darkest part.
There are basically three ways to do this:
Overexpose the subject leaving little detail of the mid-tones.
Use high contrast film eliminating or minimizing the mid-tones of the original.
Use digital software to achieve a similar effect.
Here are a few examples using all three techniques.
Typically, a photo that is very bright and has almost no shadows is considered to be high key.
Some of these images were processed in the darkroom using high contrast film (they’re from the 1970s) and others were adjusted digitally to make them brighter and to remove the shadows.
Beach Portraithigh key effect of an old scanned photograph using digital software
CandyWhile developing the film, the water got very cold and caused the "reticulation" pattern on the negative. It produced a very surprising and interesting result.
Dunes Portraitscanned transparency using digital software to produce high key effect
Four Part Compositedarkroom produced high key effect using high contrast film from 1970s
Jones Beach Candiddarkroom produced high key using high contrast film
Local Park Portraitscanned negative from 1960's using software to produce high key effect
On the Patiodigitally manipulated to achieve high contrast/high key effect 2022
Sleeping Bear Dunesscanned transparency from 1970s using digital software to produce high key effect
Snow Stormin-camera high key exposure on negative film
I understand that I need to keep the gate to the backyard closed otherwise unwanted animals might stray onto our property. I especially don’t want a moose coming into the yard; it would eat all of our newly planted vegetables.
I came across an article in the newspaper a couple of weeks ago that convinced me that I could make sure that neither a moose nor any other undesirable fauna would sneak into our yard.
And so I followed the advice and found an inexpensive device that I hope will alert us to potential invaders.
The camera uses a set of six AA batteries. Having used it for three weeks and recorded 150 clips, the batteries are still 70% charged. The motion detector is said to be sensitive up to 80 feet although I have not confirmed this. Additionally, the nighttime infrared illumination is adjustable to 120 feet, another item I have not confirmed.
You can choose to record either still images or video clips. When set for still it can fire off up to sequential eight images. It can also make time lapse recordings.
I chose to record 10 second video clips. Clip duration is adjustable in increments up to 60 minutes. When the unit’s motion detector is tripped, recording begins. Optionally, you can choose to record a status line on the bottom of the images that have time, date, etc.
Here’s a couple of video clips of our first encounters with nature’s offerings. BTW, night images don’t appear in color, only day light when the IR illumination isn’t being used.
Well, we didn’t catch that moose on the video, just a hungry little rabbit. But I assure you that the trail camera is ready for whatever may invade our yard.
Most everyone has an opinion – a point of view if you will. But in photography, the POV acronym has a special meaning.
Point Of View refers to the position of the camera when you click the shutter. By varying the camera’s position you can easily change the composition and “interest quotient” of your image. A simple change in the position of your camera can turn your photograph into a winner.
And of course you’re the key to making this happen.
Try moving closer or further away from your subject. Bend at the waist. Get down on your knees. Turn the camera from the horizontal to the vertical orientation. Lift your camera above your head. Point the camera downward. I think you get the point.
For some suggestions, check out a few of the examples below.
[ Click on any image to enlarge ]
Look Down
For these shots, I’m viewing the subject from above. I’ve filled the frame to emphasize the subject rather than the background. All of these are shot using a standard focal length.
Eye Level
Lowering your camera to meet the subject’s main feature gives a more intimate feel. Moving closer or further away from the subject changes the scale (size) of the subject. Just a few steps can make a noticeable difference. Kneeling or bending over may be part of the routine to get the shot.
Look Up
By shooting upward you can get a very different capture that alters the facial aspect in portraits. Doing so may also emphasize or exaggerate the height of the subject.
How Low Can You Go?
For a couple of these shots, we had to lay prone on the ground to produce a more dramatic view. Some of the newer cameras have a swivel viewfinder for composing low or ground level pictures.
After you’ve paid for your camera, photography is just about FREE. So get out there and show yourself and others that you have an interesting POINT OF VIEW.